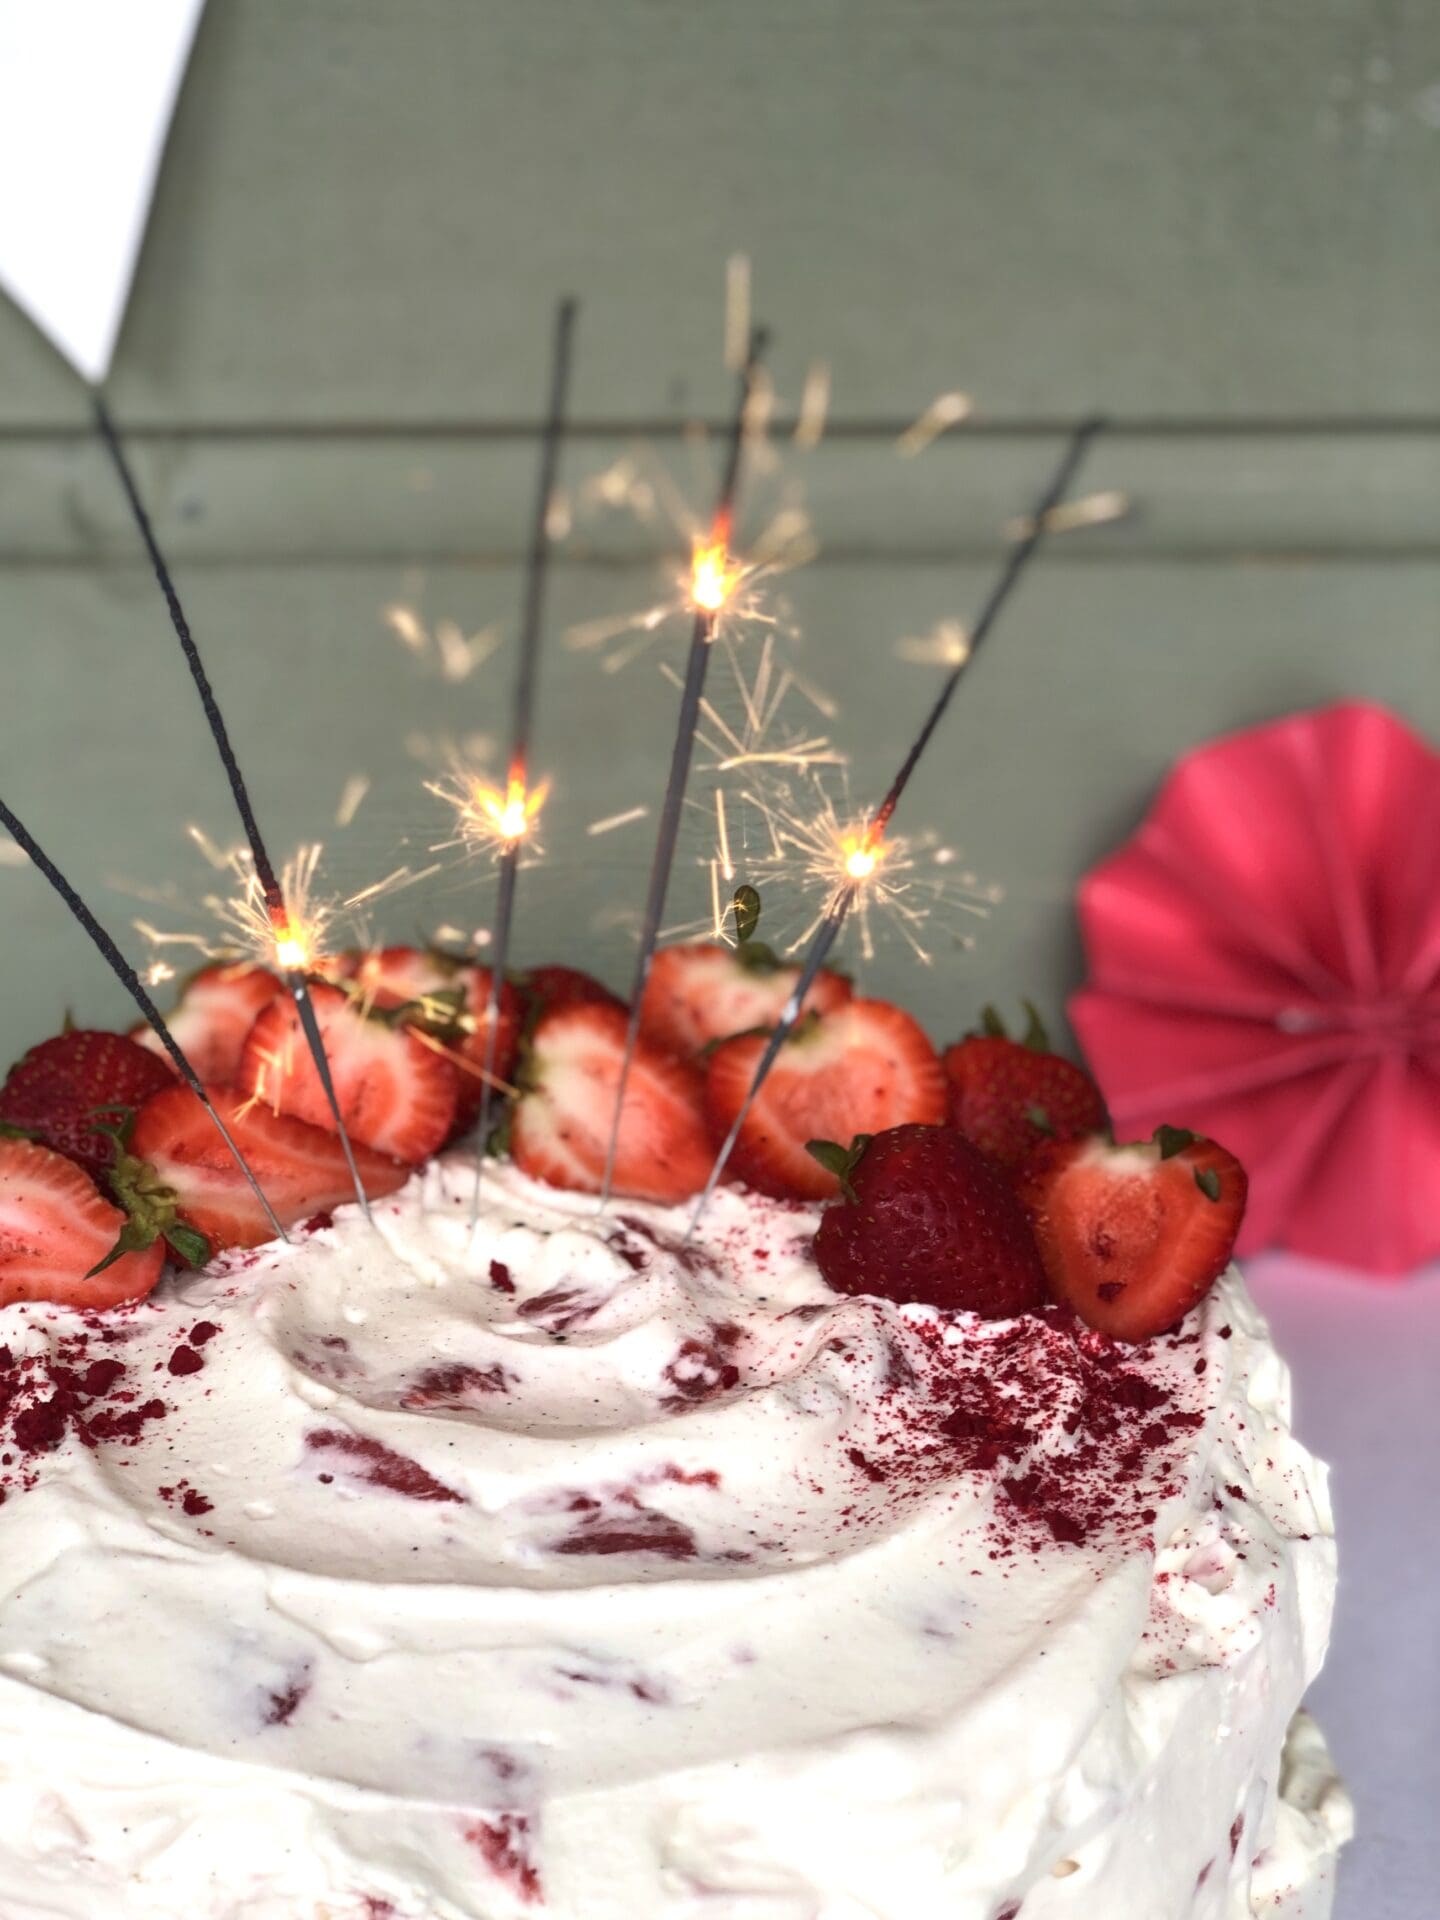
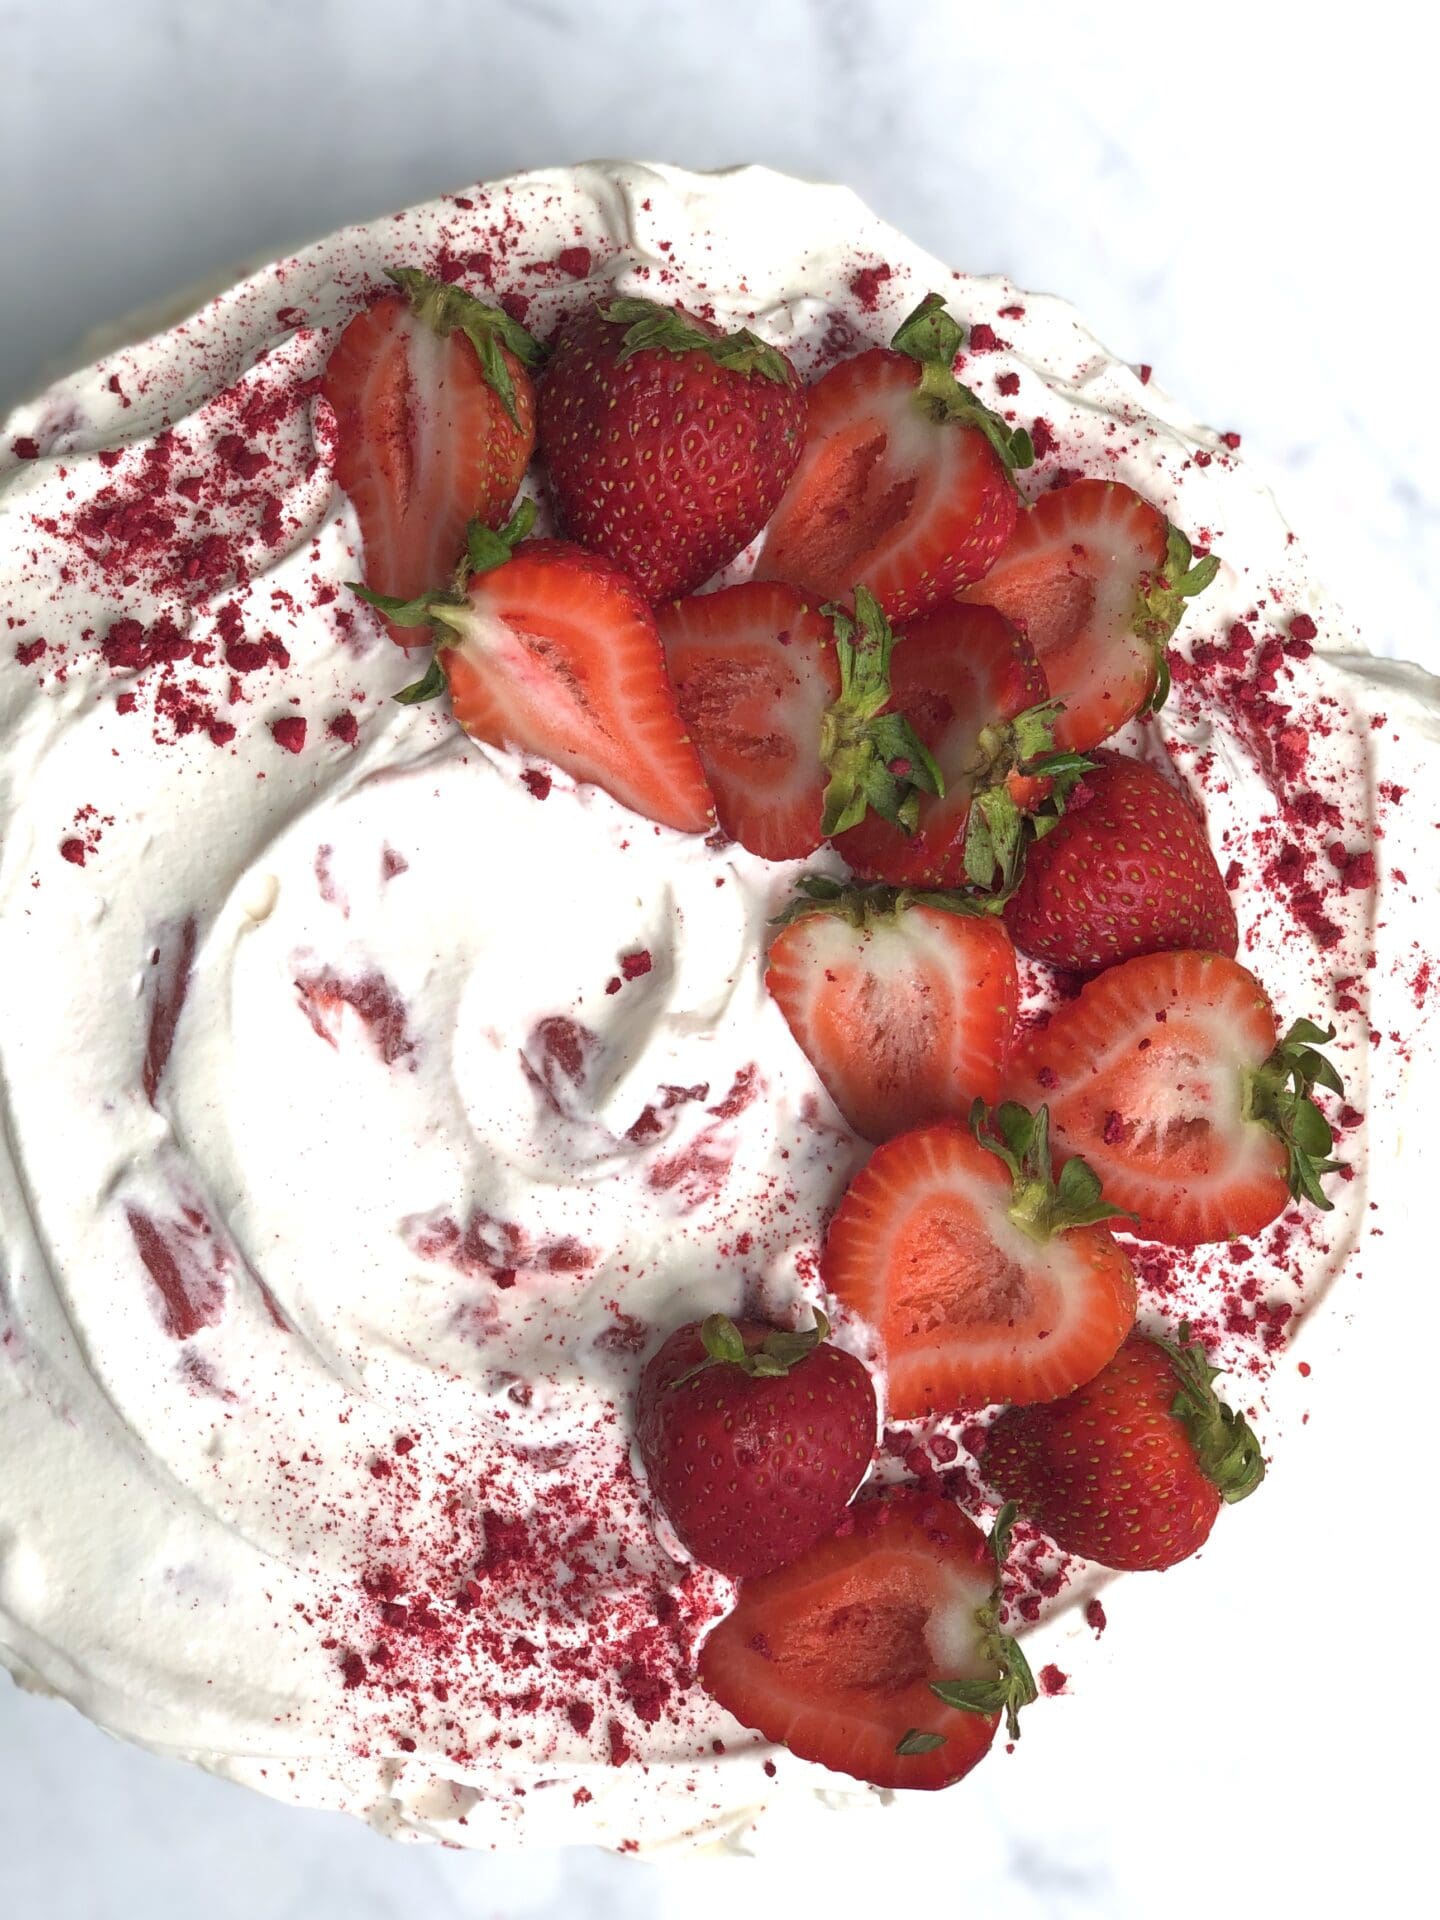
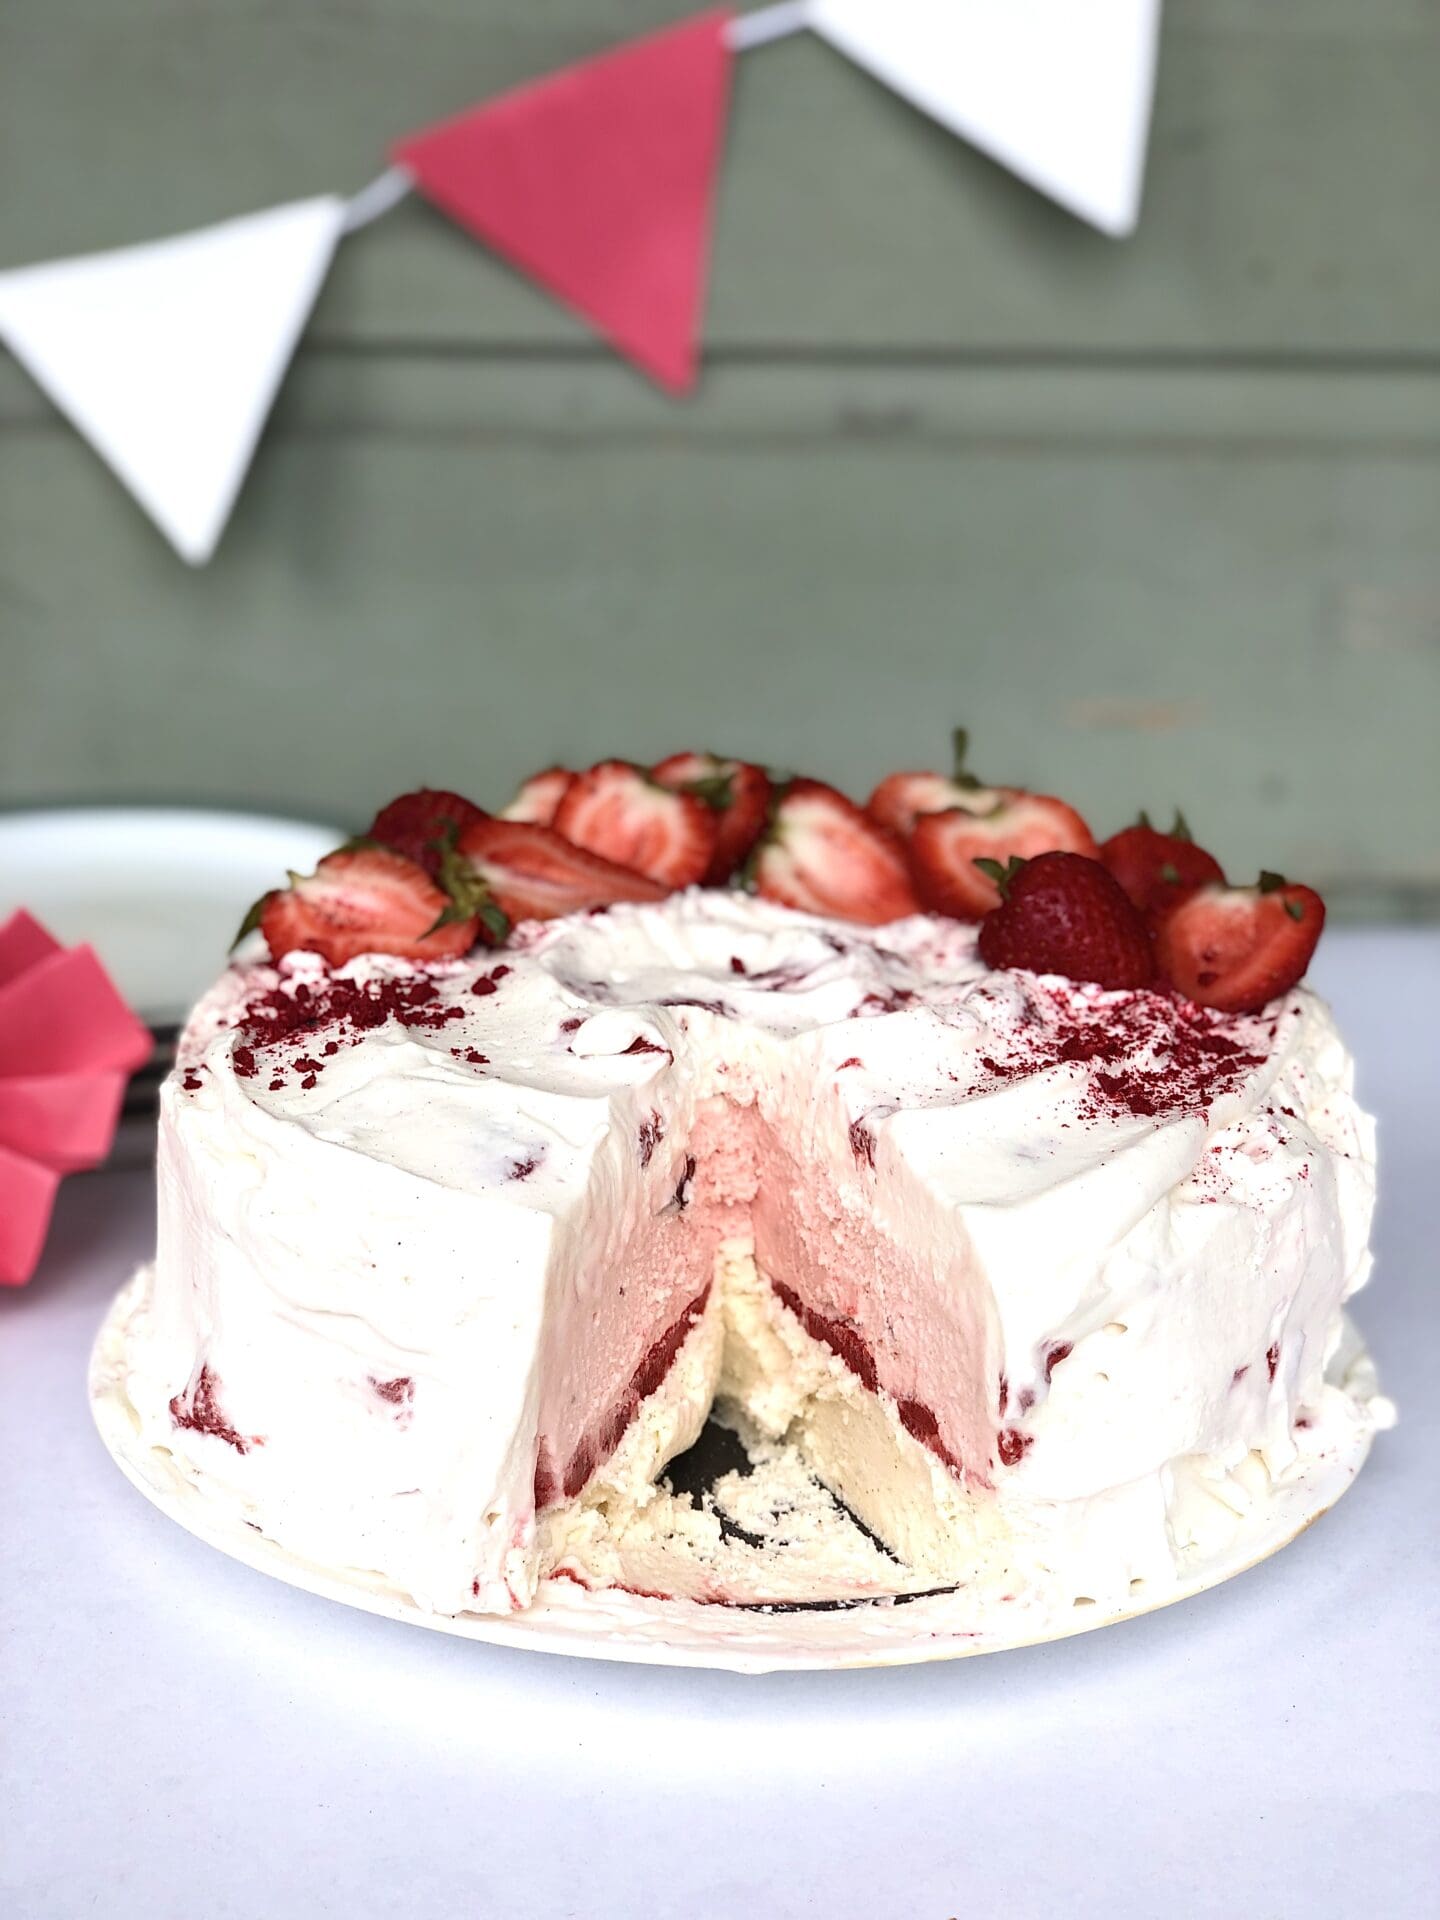
Happy Birthday, Canada! Celebrate The True North Strong And Free on July 1st with a birthday cake fit for summer! Pick up some local strawberries and Canadian-made ice cream, and invite your friends and family over to enjoy a red and white Strawberries and Cream Ice Cream Cake! This dessert is easy to prepare, but you’ll want to make it in advance so it has time to freeze properly before the big day. I’m wishing all my fellow Canadians, wherever you are in the world, a very happy Canada Day! Where will I be on Canada Day? At the lake, eating ice cream cake with my favourite people and kicking off another great Canadian summer!
Race you to the dock!
xoSarah
STRAWBERRIES AND CREAM ICE CREAM CAKE
Time: about 1 hour of total active time, about 8 hours of total inactive chilling/freezing time Servings: 12
INGREDIENTS
- 3 cups strawberries, hulled and coarsely chopped plus more for decorating
- 1/2 cup regular white sugar
- 2 tsp lemon juice
- 1.5L vanilla ice cream
- 1.5L strawberry ice cream
- 2 cups whipping cream
- 3/4 cup icing sugar
- 1 tsp vanilla extract
- crushed freeze dried strawberries for decorating (optional)
SPECIAL EQUIPMENT
- 9″ non-stick springform pan with removable bottom, at least 2.75″ deep, such as this one:
INSTRUCTIONS
STRAWBERRY SAUCE
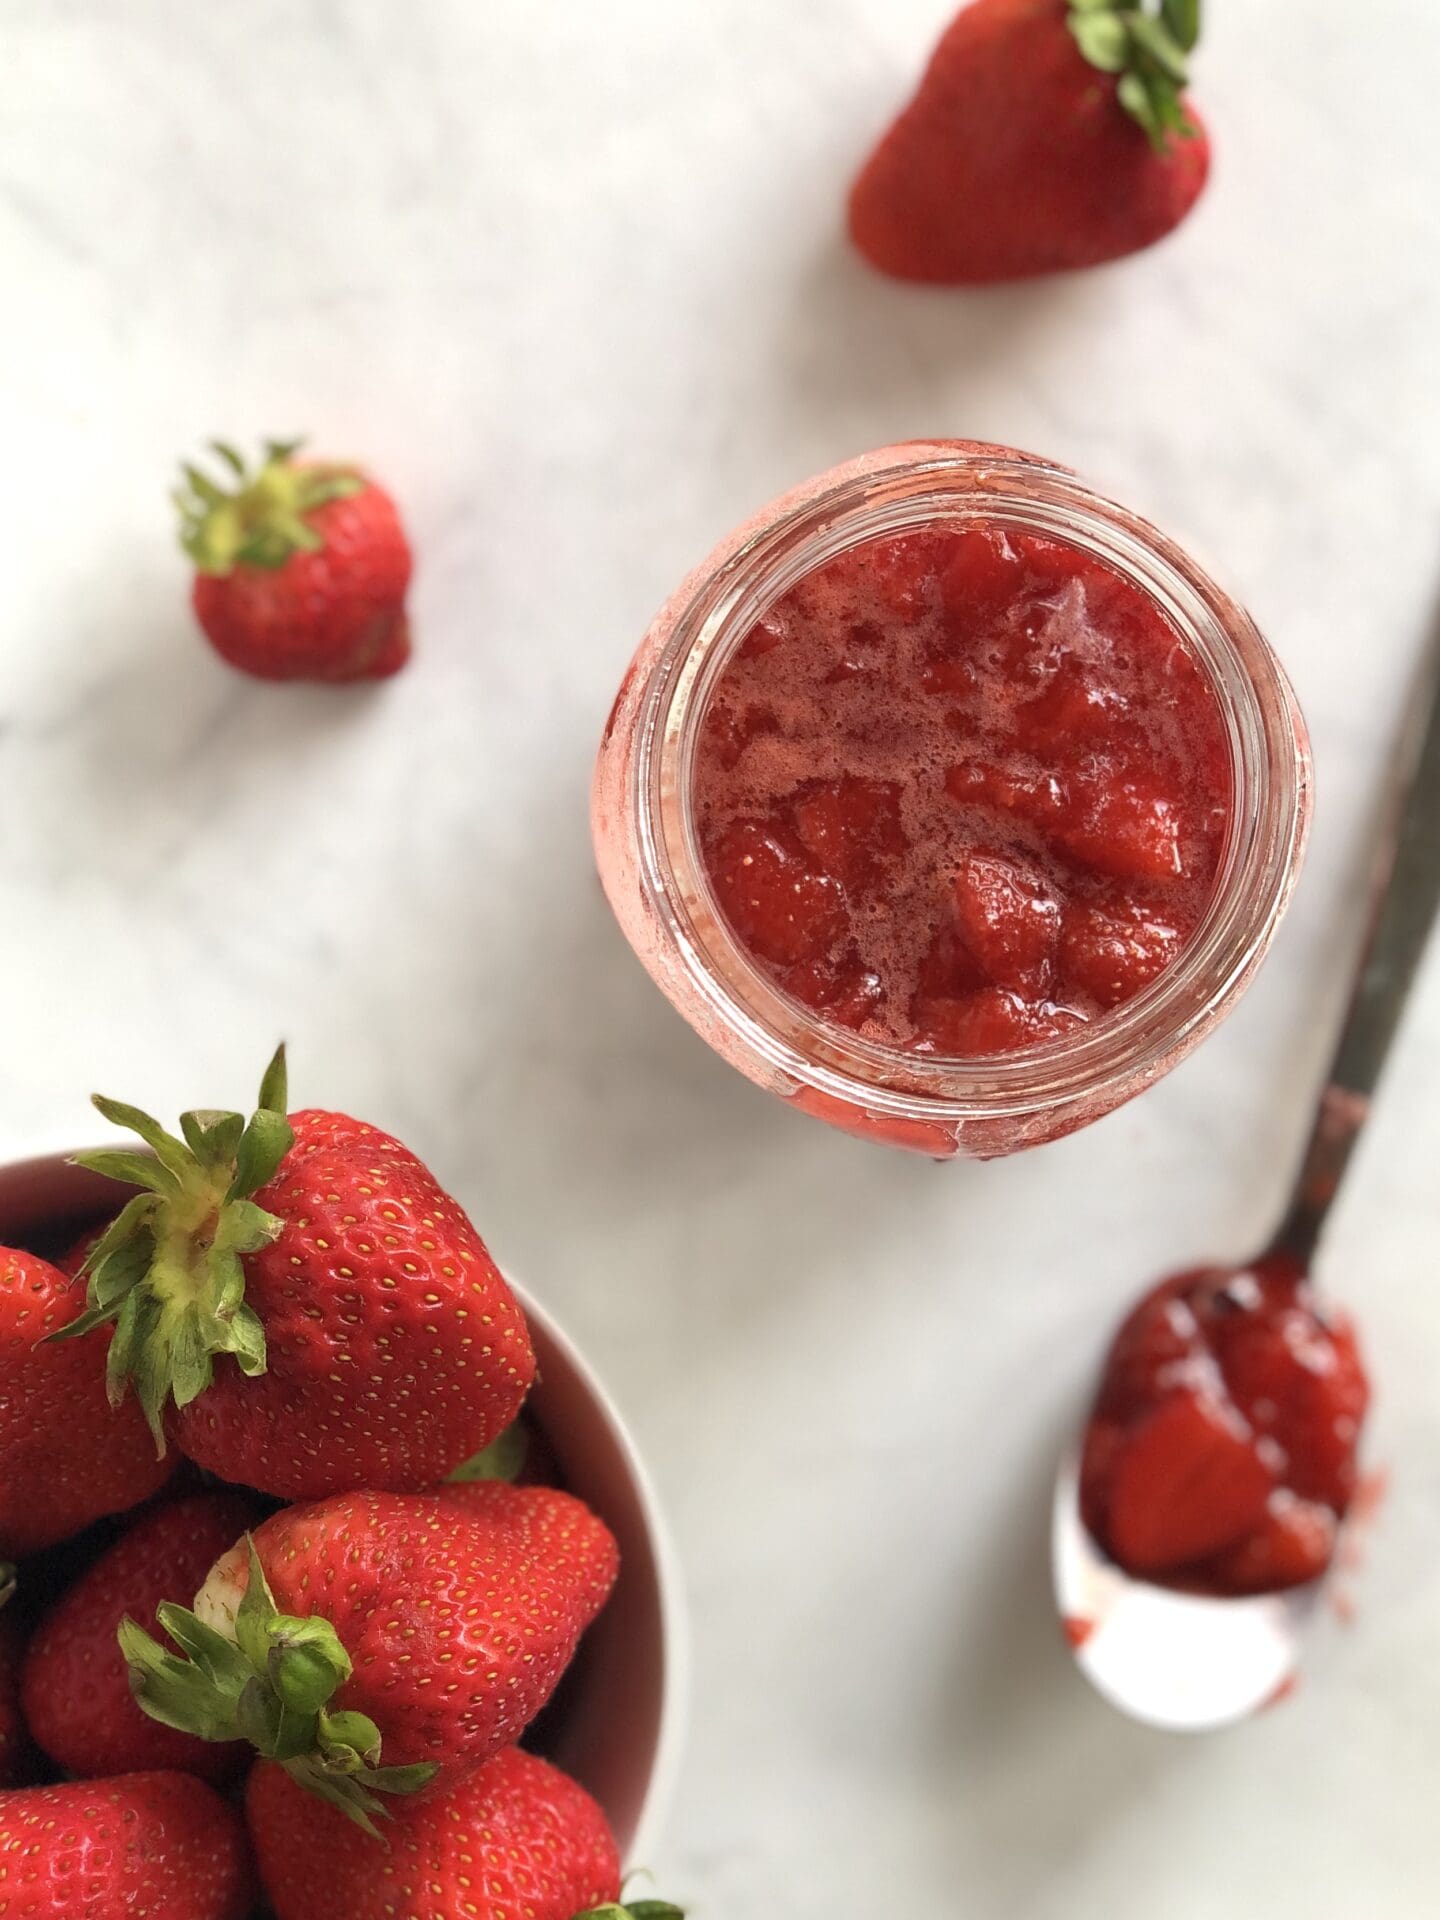
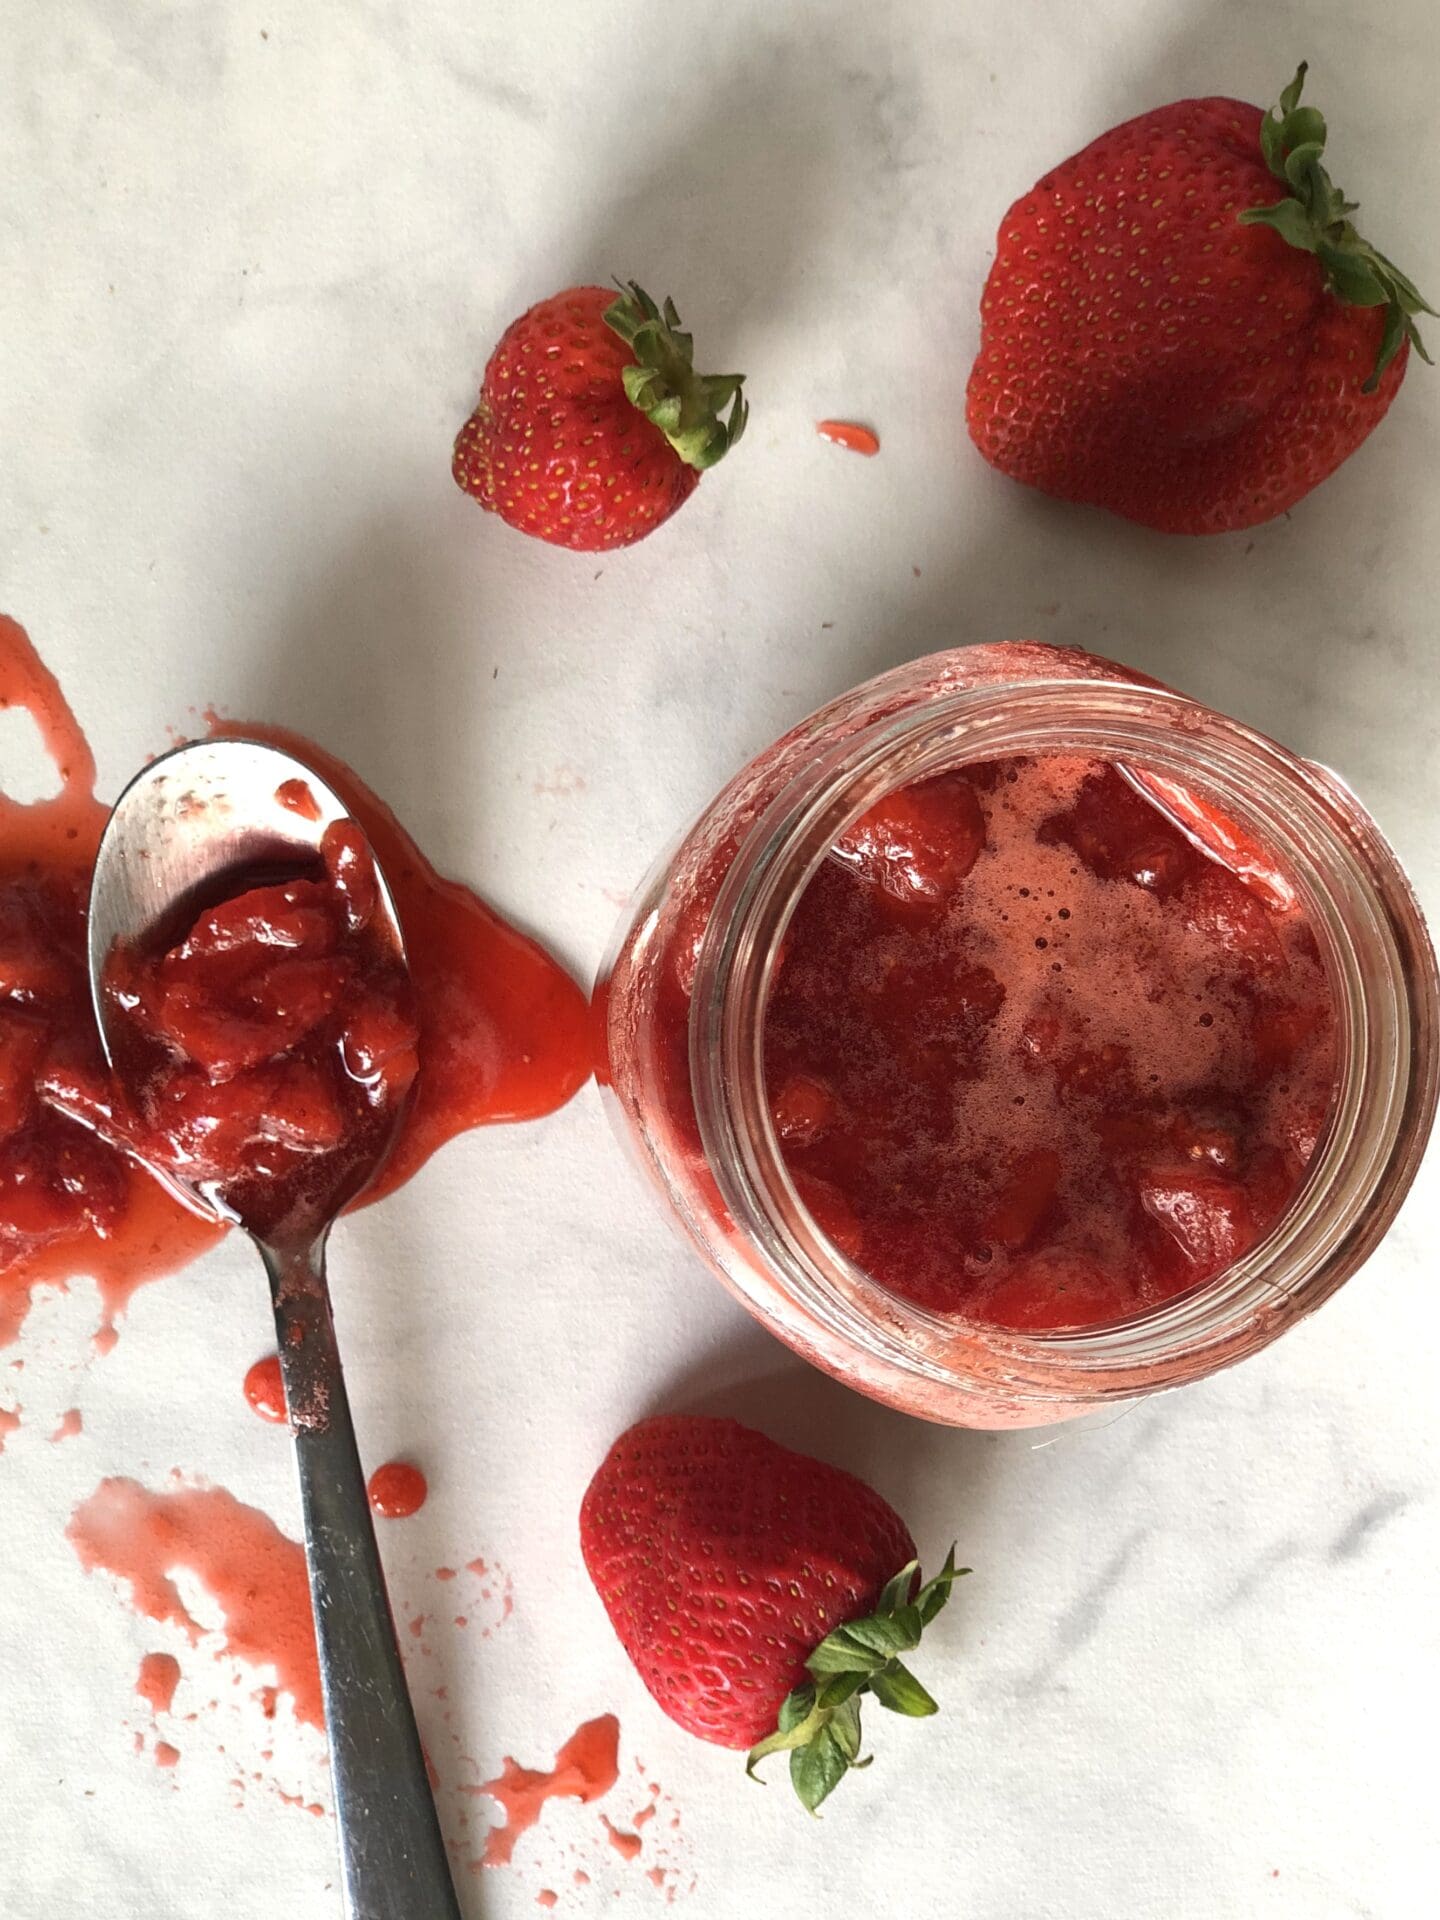
Combine chopped strawberries, regular white sugar and lemon juice in a medium saucepan and set over medium-high heat. As the mixture heats, the berries will release their juices. Allow the mixture to come to a low boil, stirring frequently. Reduce the heat to medium low, and allow the mixture to simmer gently. Cook the sauce for 8 minutes, continuing to stir frequently, until sauce is syrupy and thickened, with lots of chunks of strawberry remaining. Remove from heat and allow to cool to room temperature. Transfer to a covered container and chill in the fridge until ready to use. Make ahead: This sauce needs to be cold before it is used, so make it at least 3 hours before you want to start assembling the cake. It can be made up to 3 days in advance and stored in the fridge.

CAKE ASSEMBLY
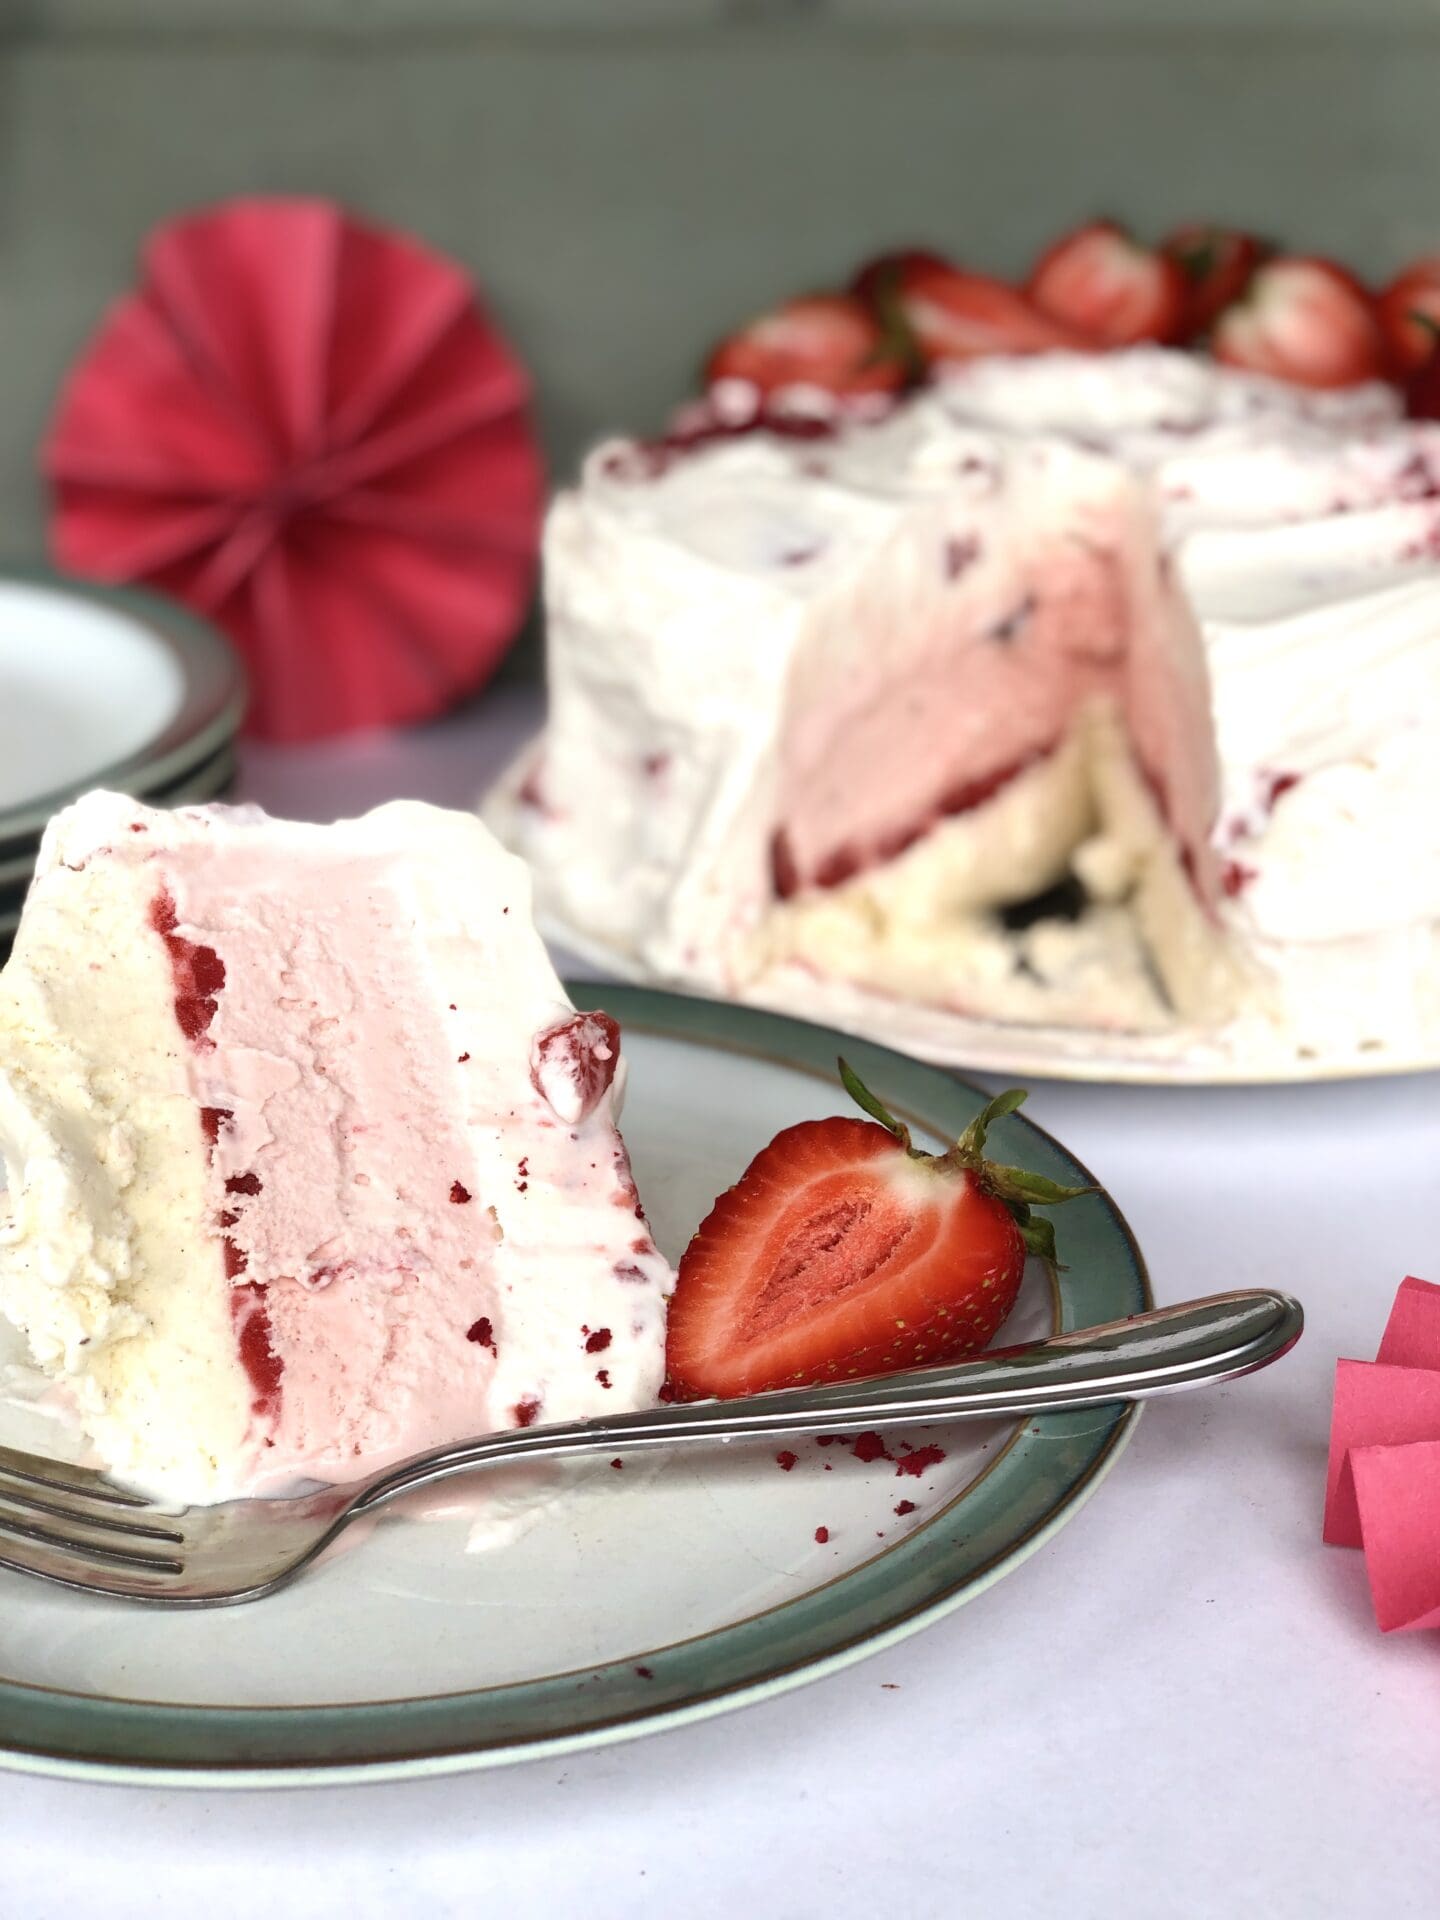
Take the vanilla ice cream out of the freezer and allow it to soften at room temperature for 15-20 minutes. Meanwhile, clip together a 9″ non-stick springform pan and clear a place in your freezer large enough for the pan to sit level. Scoop the softened vanilla ice cream into the pan and spread it with the back of a spoon to form an even layer, smoothing the top. Put the pan in the freezer for at least 30 minutes, until the ice cream is firm. Remove 1/2 cup of the strawberry sauce, being sure to capture lots of strawberry pieces, and set it aside in the fridge to keep it cold. Working quickly so the vanilla ice cream layer doesn’t melt, spread remaining cold strawberry sauce over the vanilla ice cream layer. Freeze until the strawberry sauce is firm, at least 30 minutes.
Remove the strawberry ice cream from the freezer and allow it to soften at room temperature for 15-20 minutes. Working quickly, spread softened strawberry ice cream over the strawberry sauce layer, smoothing top. Cover the pan to seal out air and freeze until the whole thing is firm, at least 2 hours. Make ahead: Can be made to this point up to 2 days in advance and stored, well covered and wrapped, in the freezer.
ICING
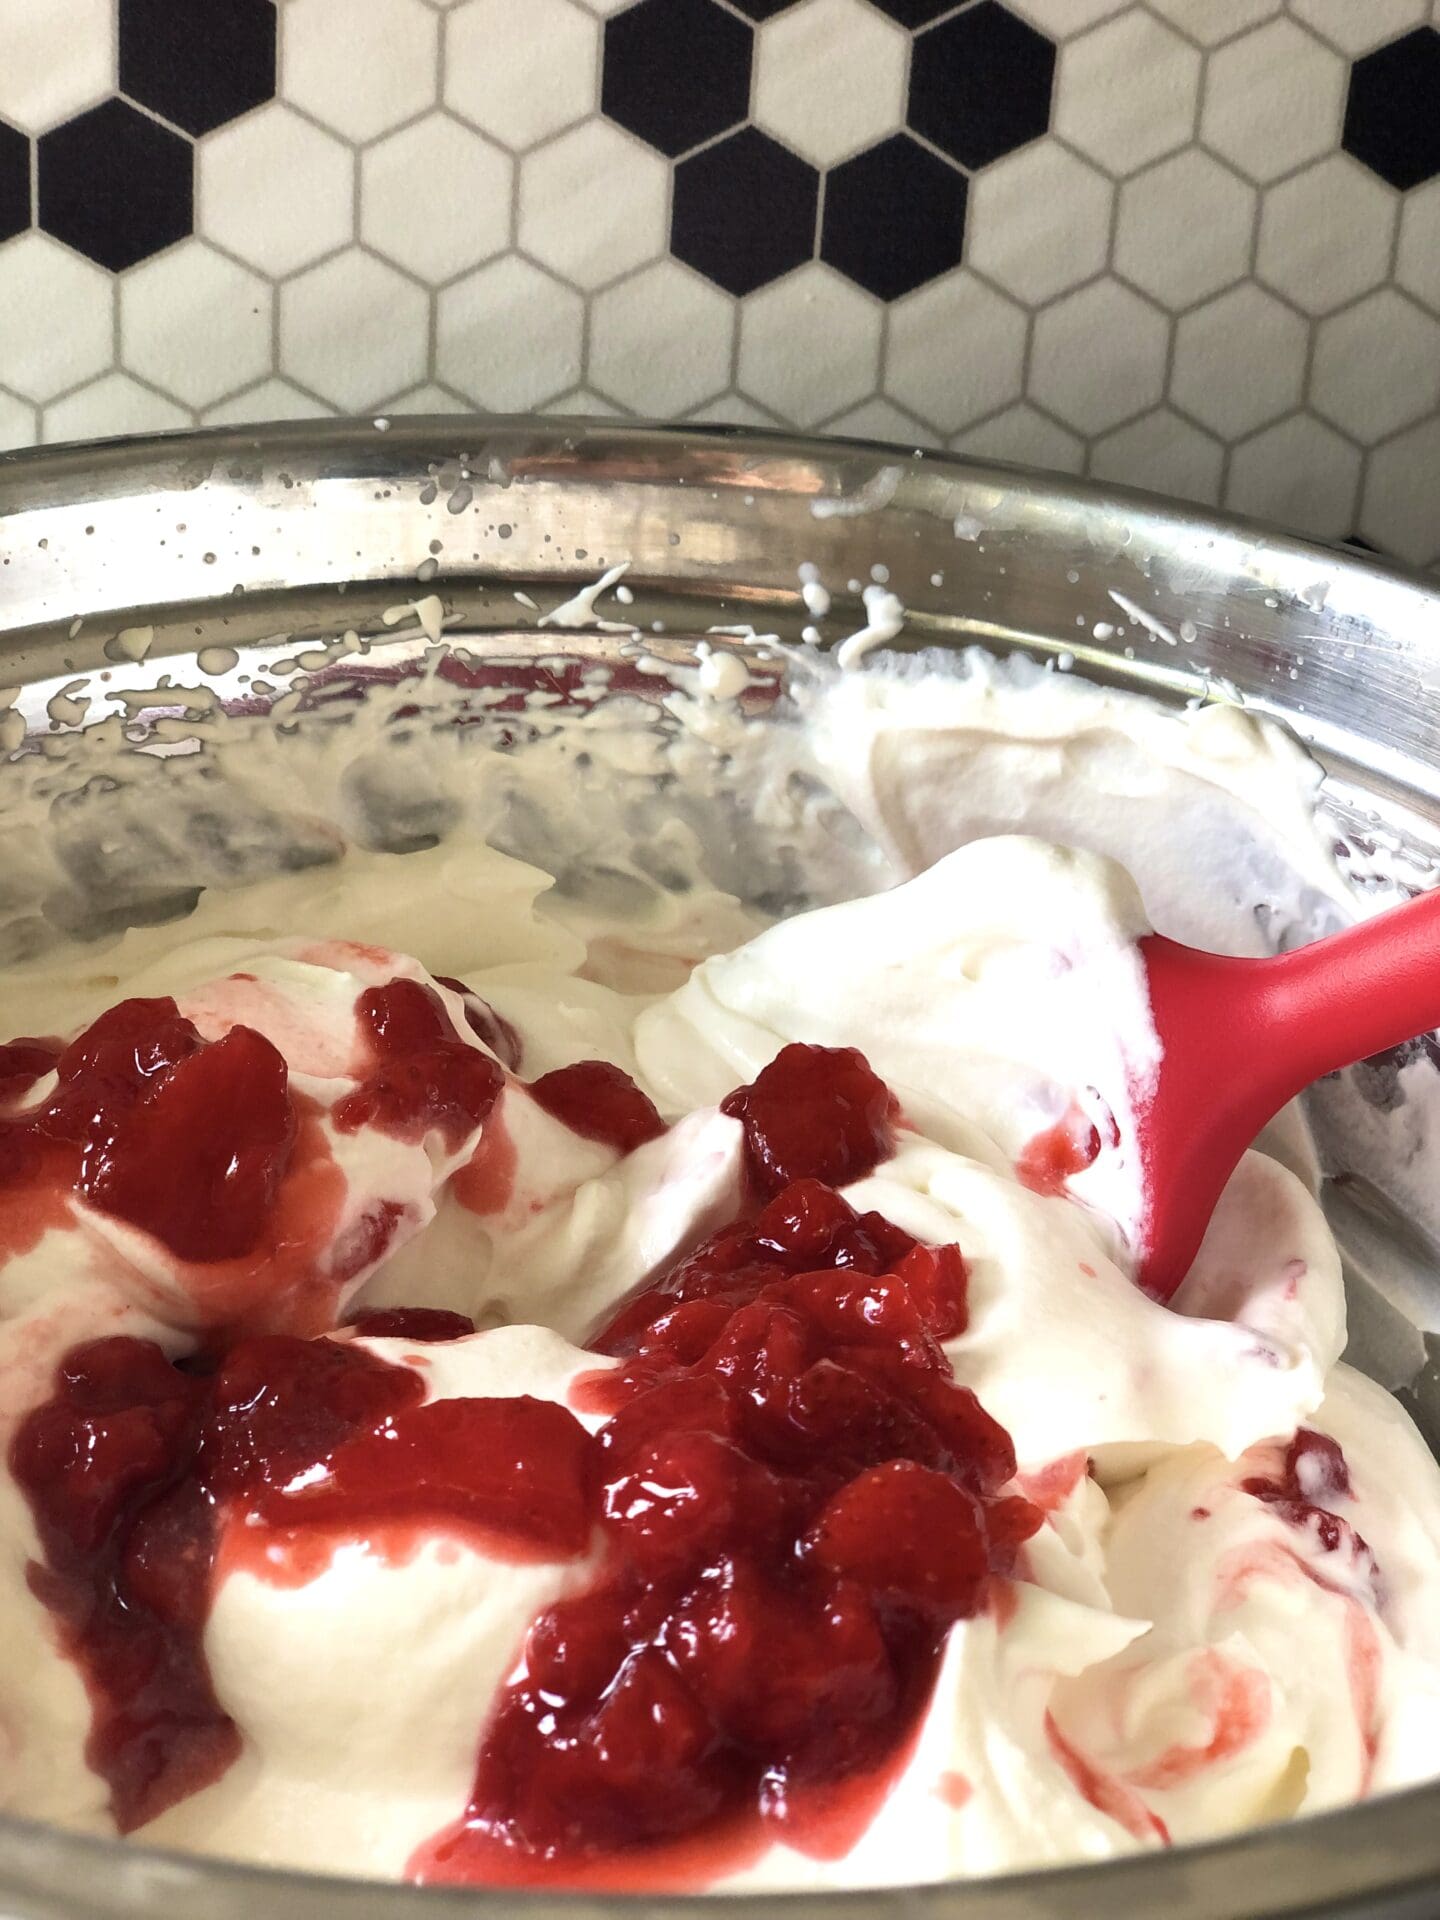
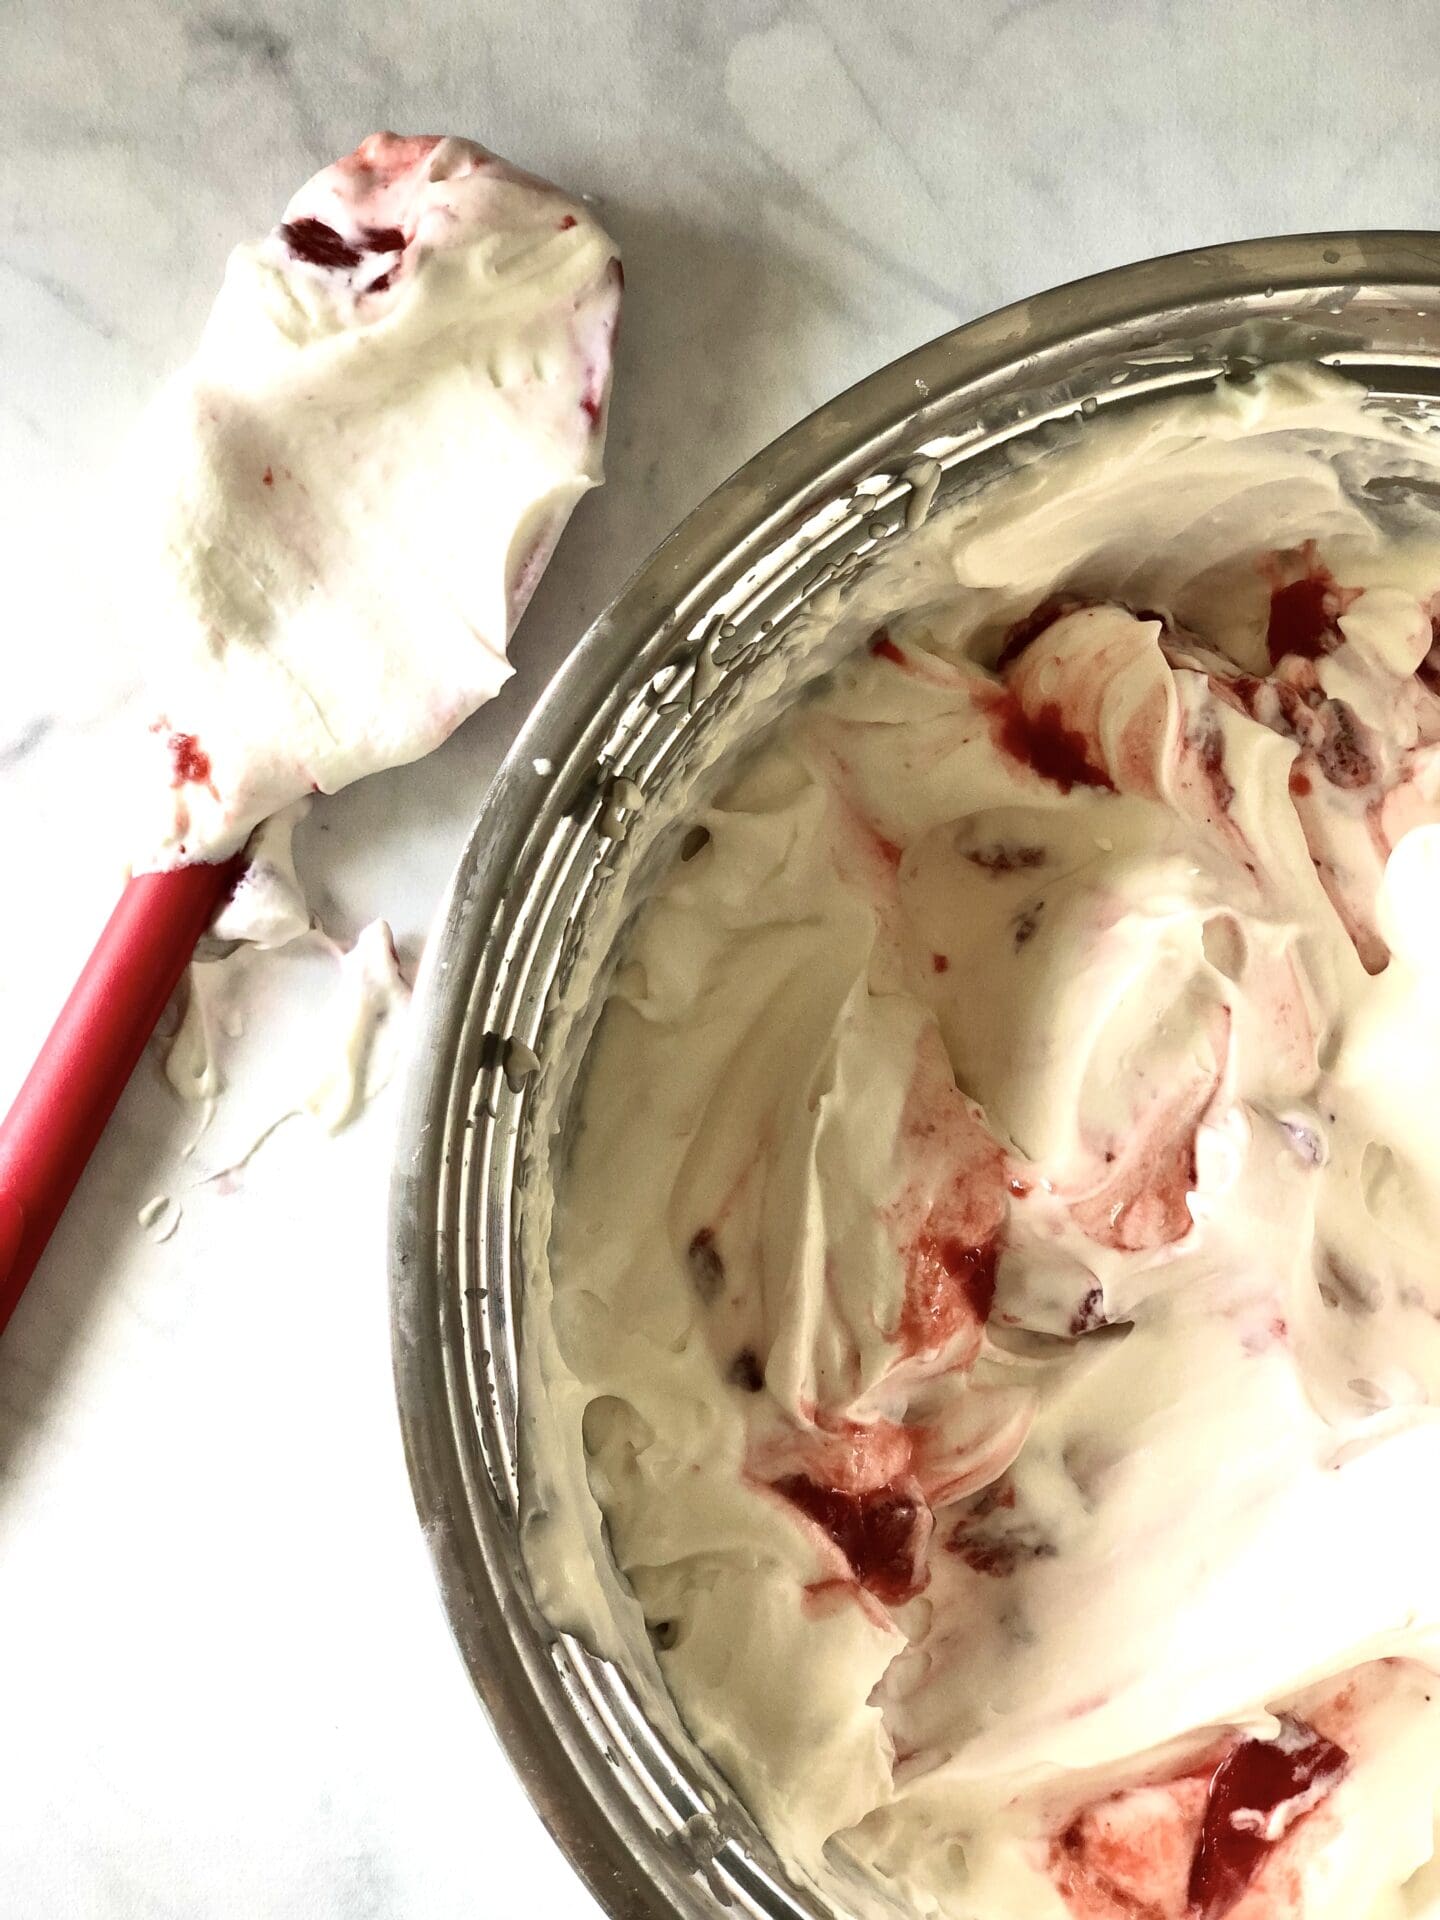
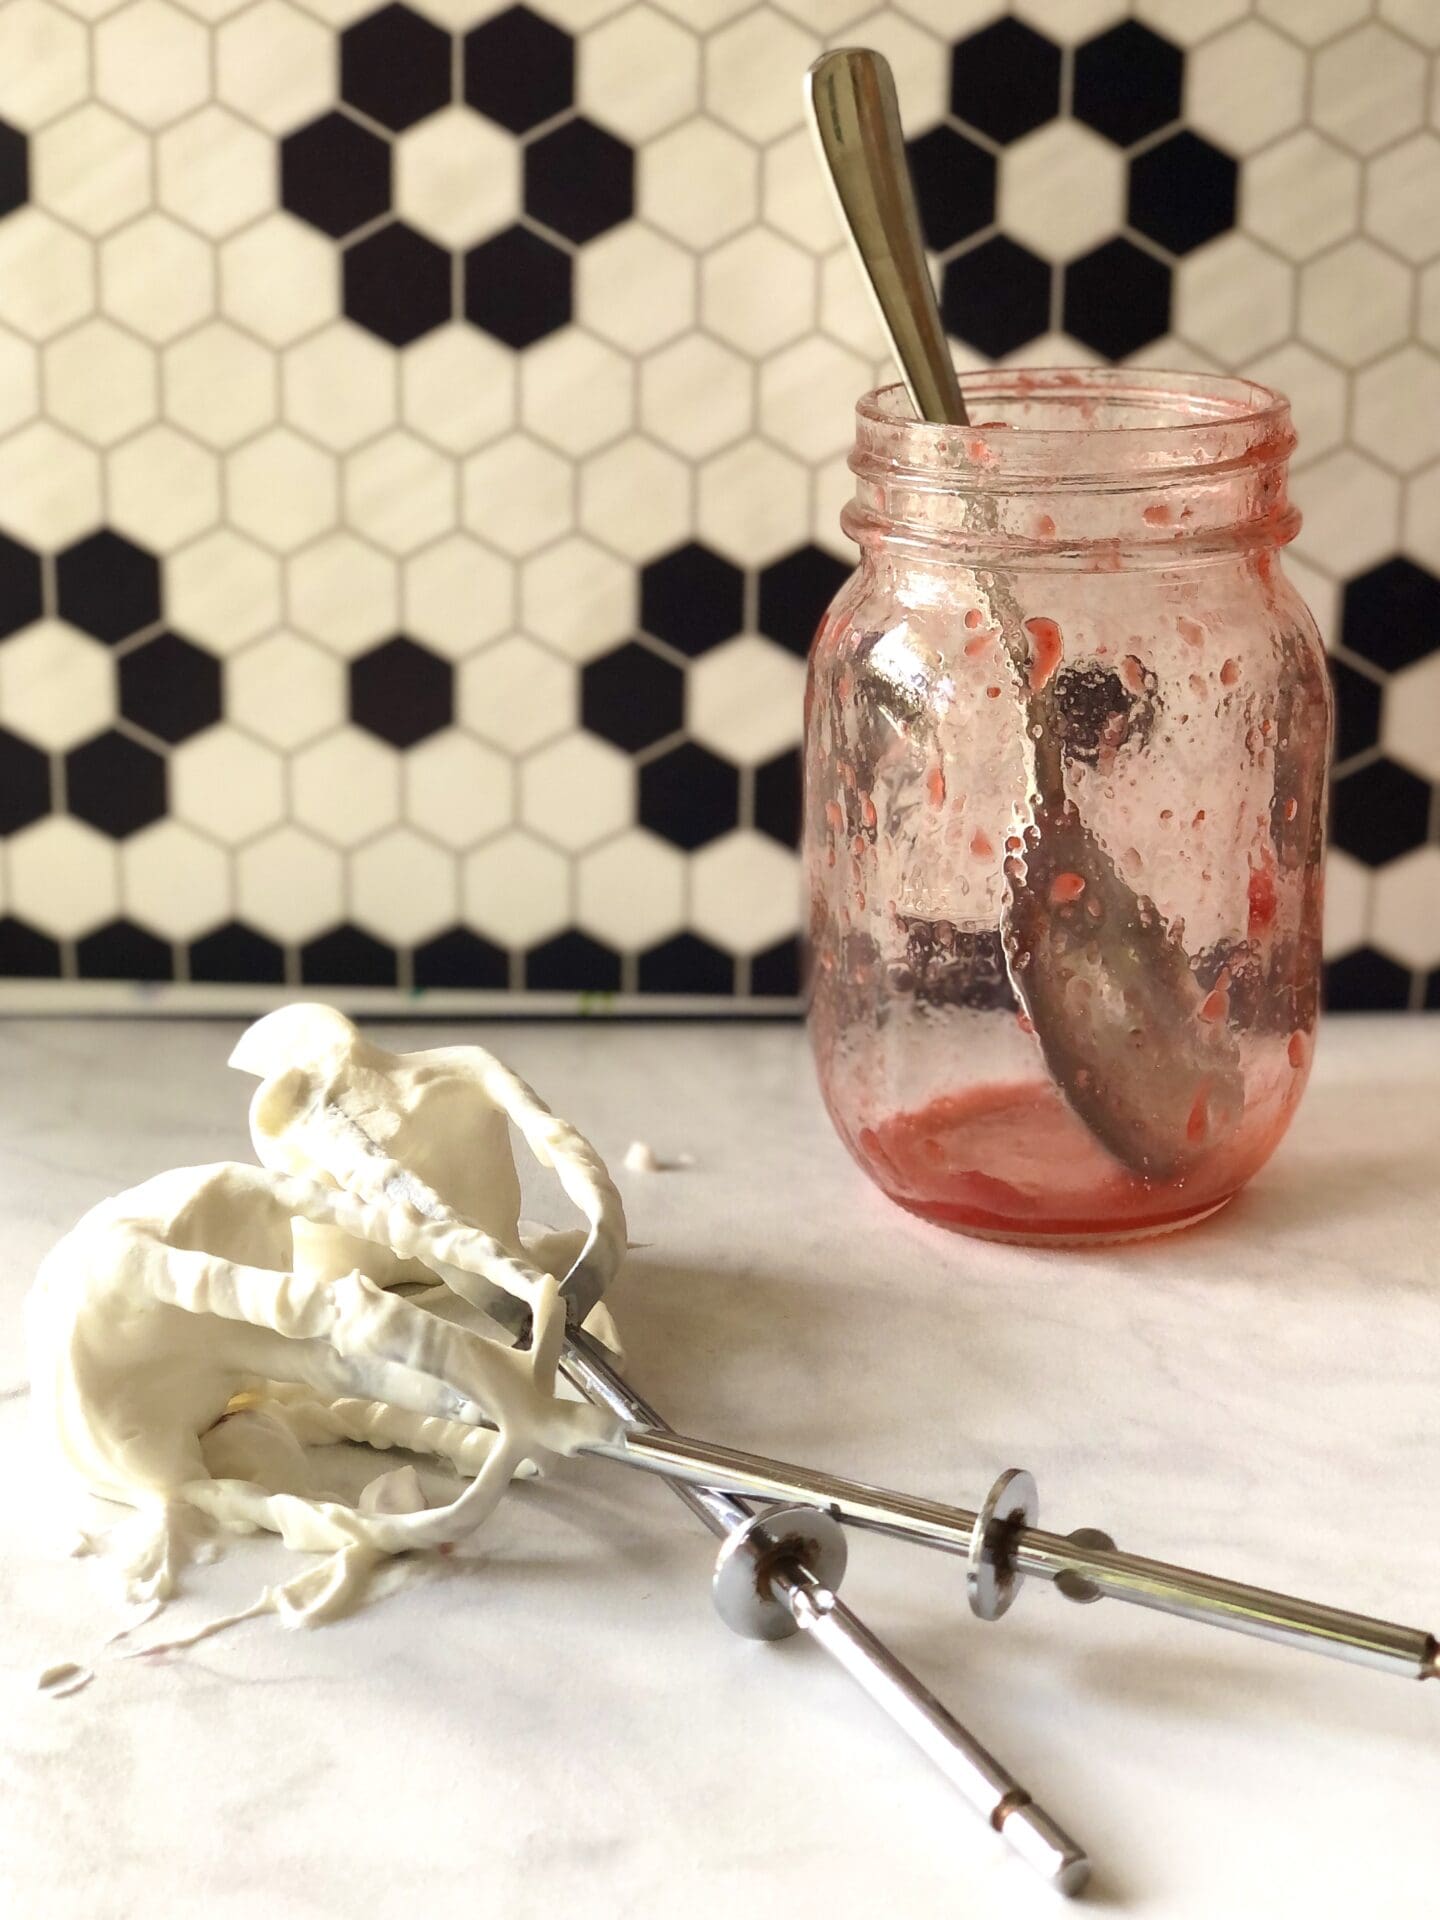
Whip the cream with icing sugar and vanilla until stiff peaks form. Drizzle the reserved 1/2 cup of cold strawberry sauce over the whipped cream. Using a rubber spatula, make just a few broad strokes to fold the strawberry sauce into the cream so you have white cream streaked with red sauce. If you continue to mix beyond a few strokes, the cream will turn pink, which is still very beautiful, but won’t give you the striking red and white appearance.
Remove the ice cream cake from the freezer and uncover. Run a knife under hot water to heat the blade, then dry it off on a clean cloth. Run the hot knife around the edge of the cake to separate it from the removable ring. Unclip the ring and lift it off to unmould the cake. (Leave the base under the cake in place.)
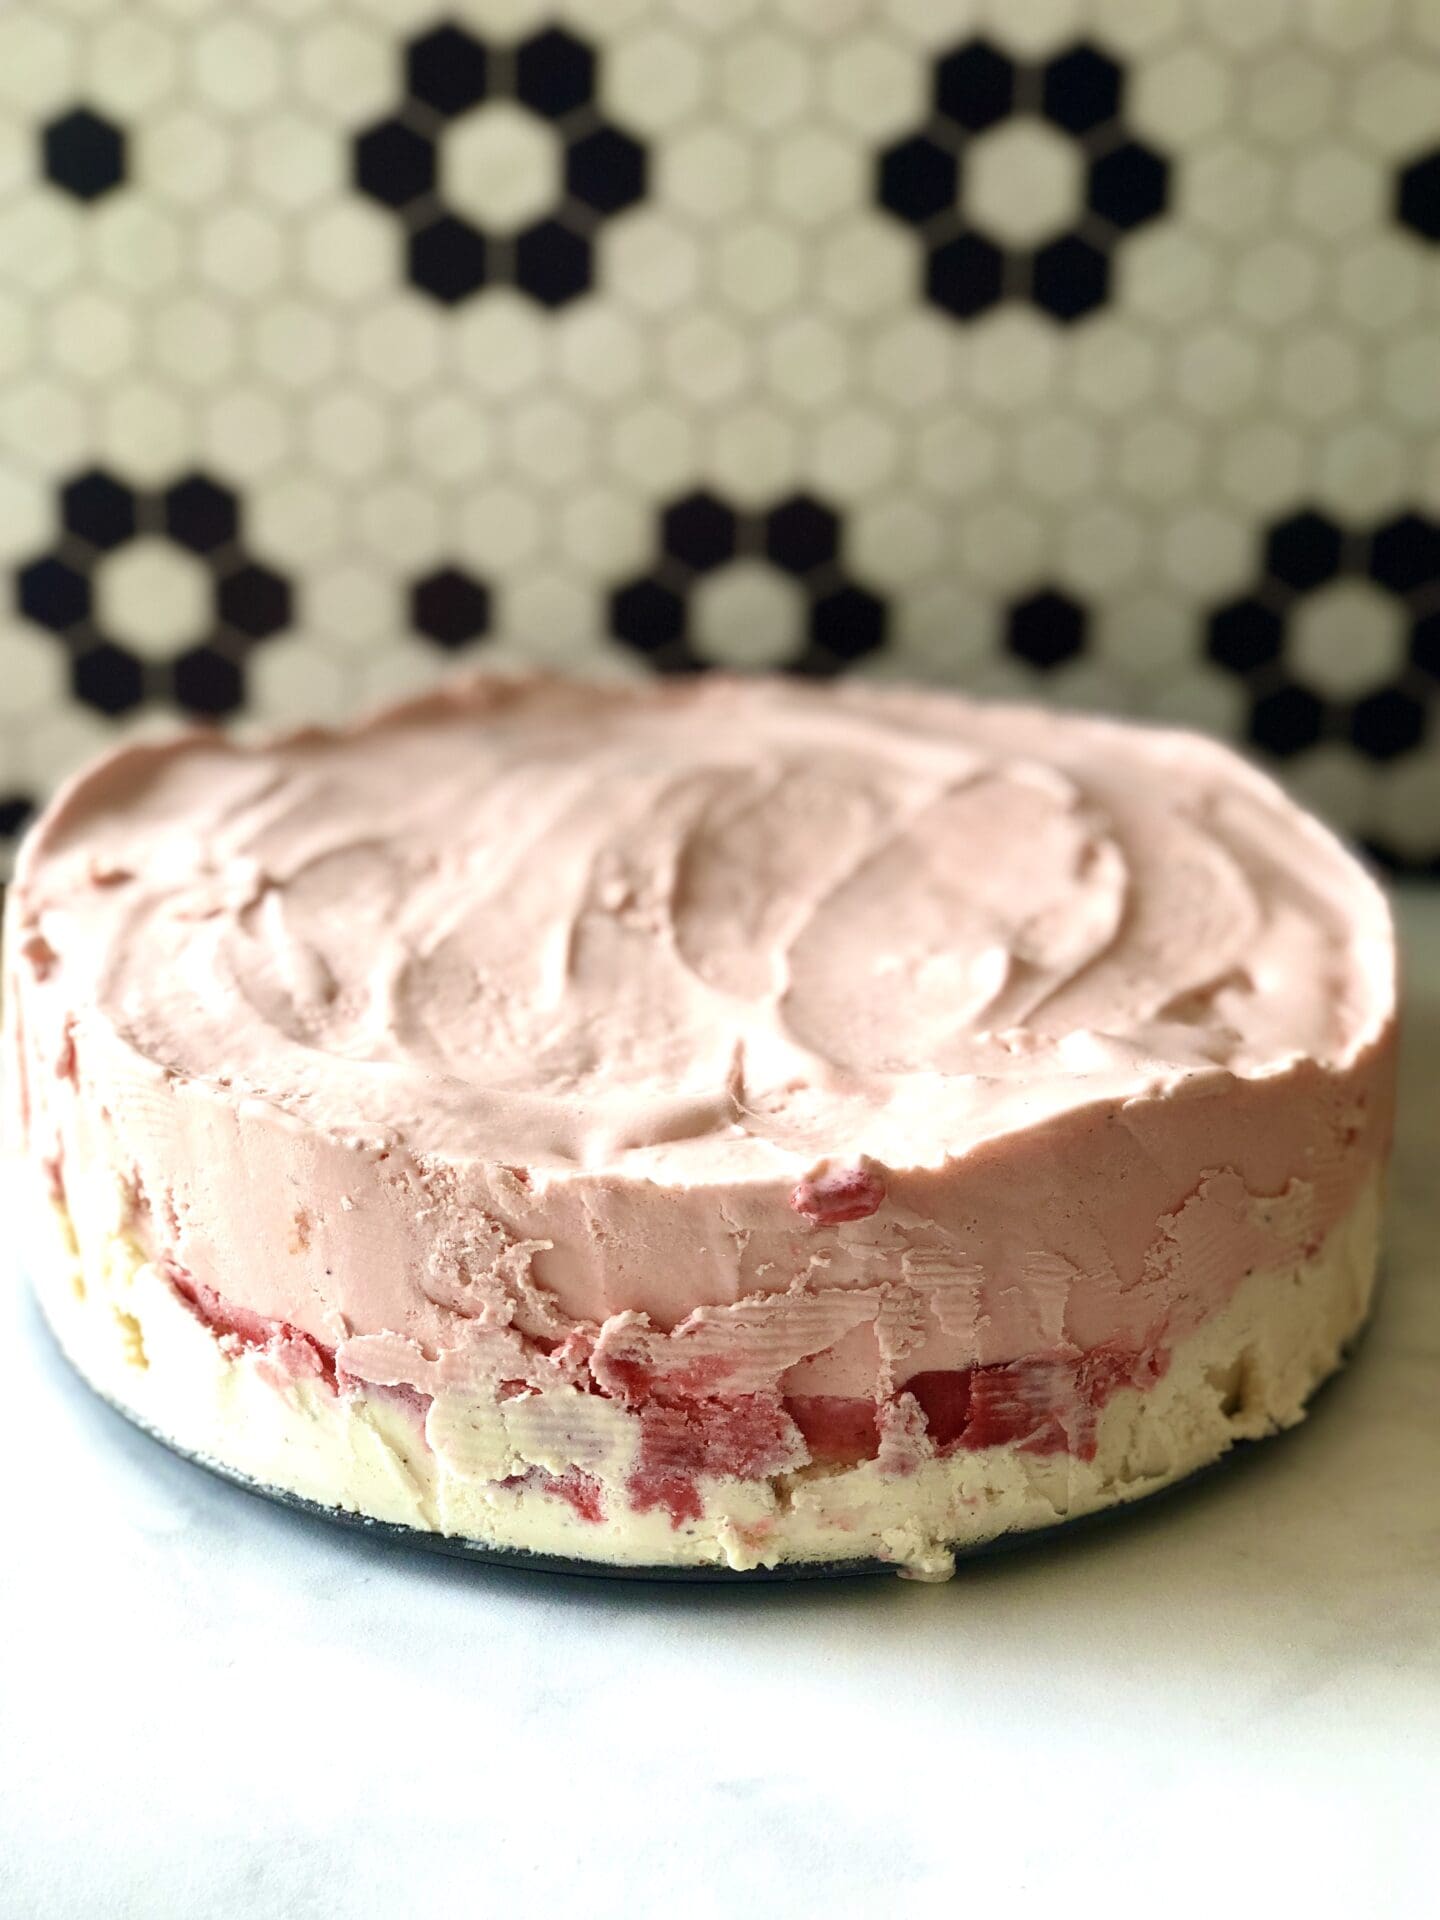
Spread a thin layer of the icing over the tops and sides of the cake. Return the cake to the freezer and freeze until solid, about 30 minutes. Ice the cake all over with the remaining icing, piling it thickly on top. Use the back of a spoon to level out the top of the icing and create some decorative swoops. Return the cake to the freezer until icing is frozen, about an hour. Cover the frozen cake and store in the freezer. Remove the cake a few minutes before serving and decorate the top with crushed freeze dried strawberries (optional) and fresh strawberries.
RECIPE NOTES
- The freezing times noted in the recipe are estimates. Exact freezing times depend on the temperature settings on your freezer and how much other stuff is in the freezer. The key is to make sure each layer is frozen before adding the next to prevent the layers from mixing. This could take a few minutes more or a few minutes less depending on your individual freezer.
- The freezing times noted in the recipe are estimated minimums. This recipe takes very little active time (each individual step doesn’t take long), but it does take quite a bit of total time to allow for freezing. I usually make it a day in advance, and work in the steps between other activities. If the suggested freezing time is 30 minutes, but I’m occupied with something else and don’t get back to complete the next step for an hour, that’s totally fine. If there will be long periods of time between steps, cover the cake-in-progress to keep it fresh.
- Freeze dried strawberries are a natural way to add dramatic colour and authentic strawberry taste without food dyes or artificial flavours. Look for packages of freeze dried strawberry pieces in the produce section of larger grocery stores. The pieces are easy to crush into a powder with the back of a fork or in a mini food processor. Freeze dried strawberries in powdered form are sometimes sold in jars the natural foods section.
