Nothing says summer like a really good homemade burger, fresh off the barbecue. Tender, meaty and juicy, there are few summer meals that satisfy quite like a classic burger. Easy to make for a crowd, they’re best enjoyed outdoors, whether at a picnic table, in a lawn chair in the backyard, or – my personal favourite – sitting cross legged on a dock. “Now that’s a good burger!”, I often hear when I make these. It’s usually followed by “What did you put in it?”. The answer to that question? Not much. They’re almost embarrassingly simple – Just good meat, barbecue sauce and steak spice. That’s it, and it’s a testament to the fact that simple is good, especially when it comes to cooking during the summer. Full disclosure: I learned the barbecue sauce trick from my parents, and I think they picked it up from my Aunt Lorna. I like to amp things up by adding a good steak spice, but other than that, they’re pretty much the burgers I grew up with – no fillers, no lengthy ingredient list – just simple quick and delicious. Check out the Recipe Notes at the bottom of the page for some pro tips to make the best burgers of the summer!
Really Good, Really Simple Beef Burgers
Time: 40 minutes (including 20 minutes of inactive chilling time) Servings: 6 burgers
INGREDIENTS
For Burger Patties
- 2lbs (about 908 gr) of medium ground beef
- 1/4 cup of your favourite sweet and tangy barbecue sauce (I use this one)
- 2 tsp steak spice, homemade or good store bought
For Grilling
- 1 Tbsp of canola or vegetable oil
For Serving
- 6 burger buns, split
- Toppings of your choice: lettuce leaves, sliced tomato, sliced red or sweet onions, sliced pickles, cheese, ketchup, mustard…..
INSTRUCTIONS
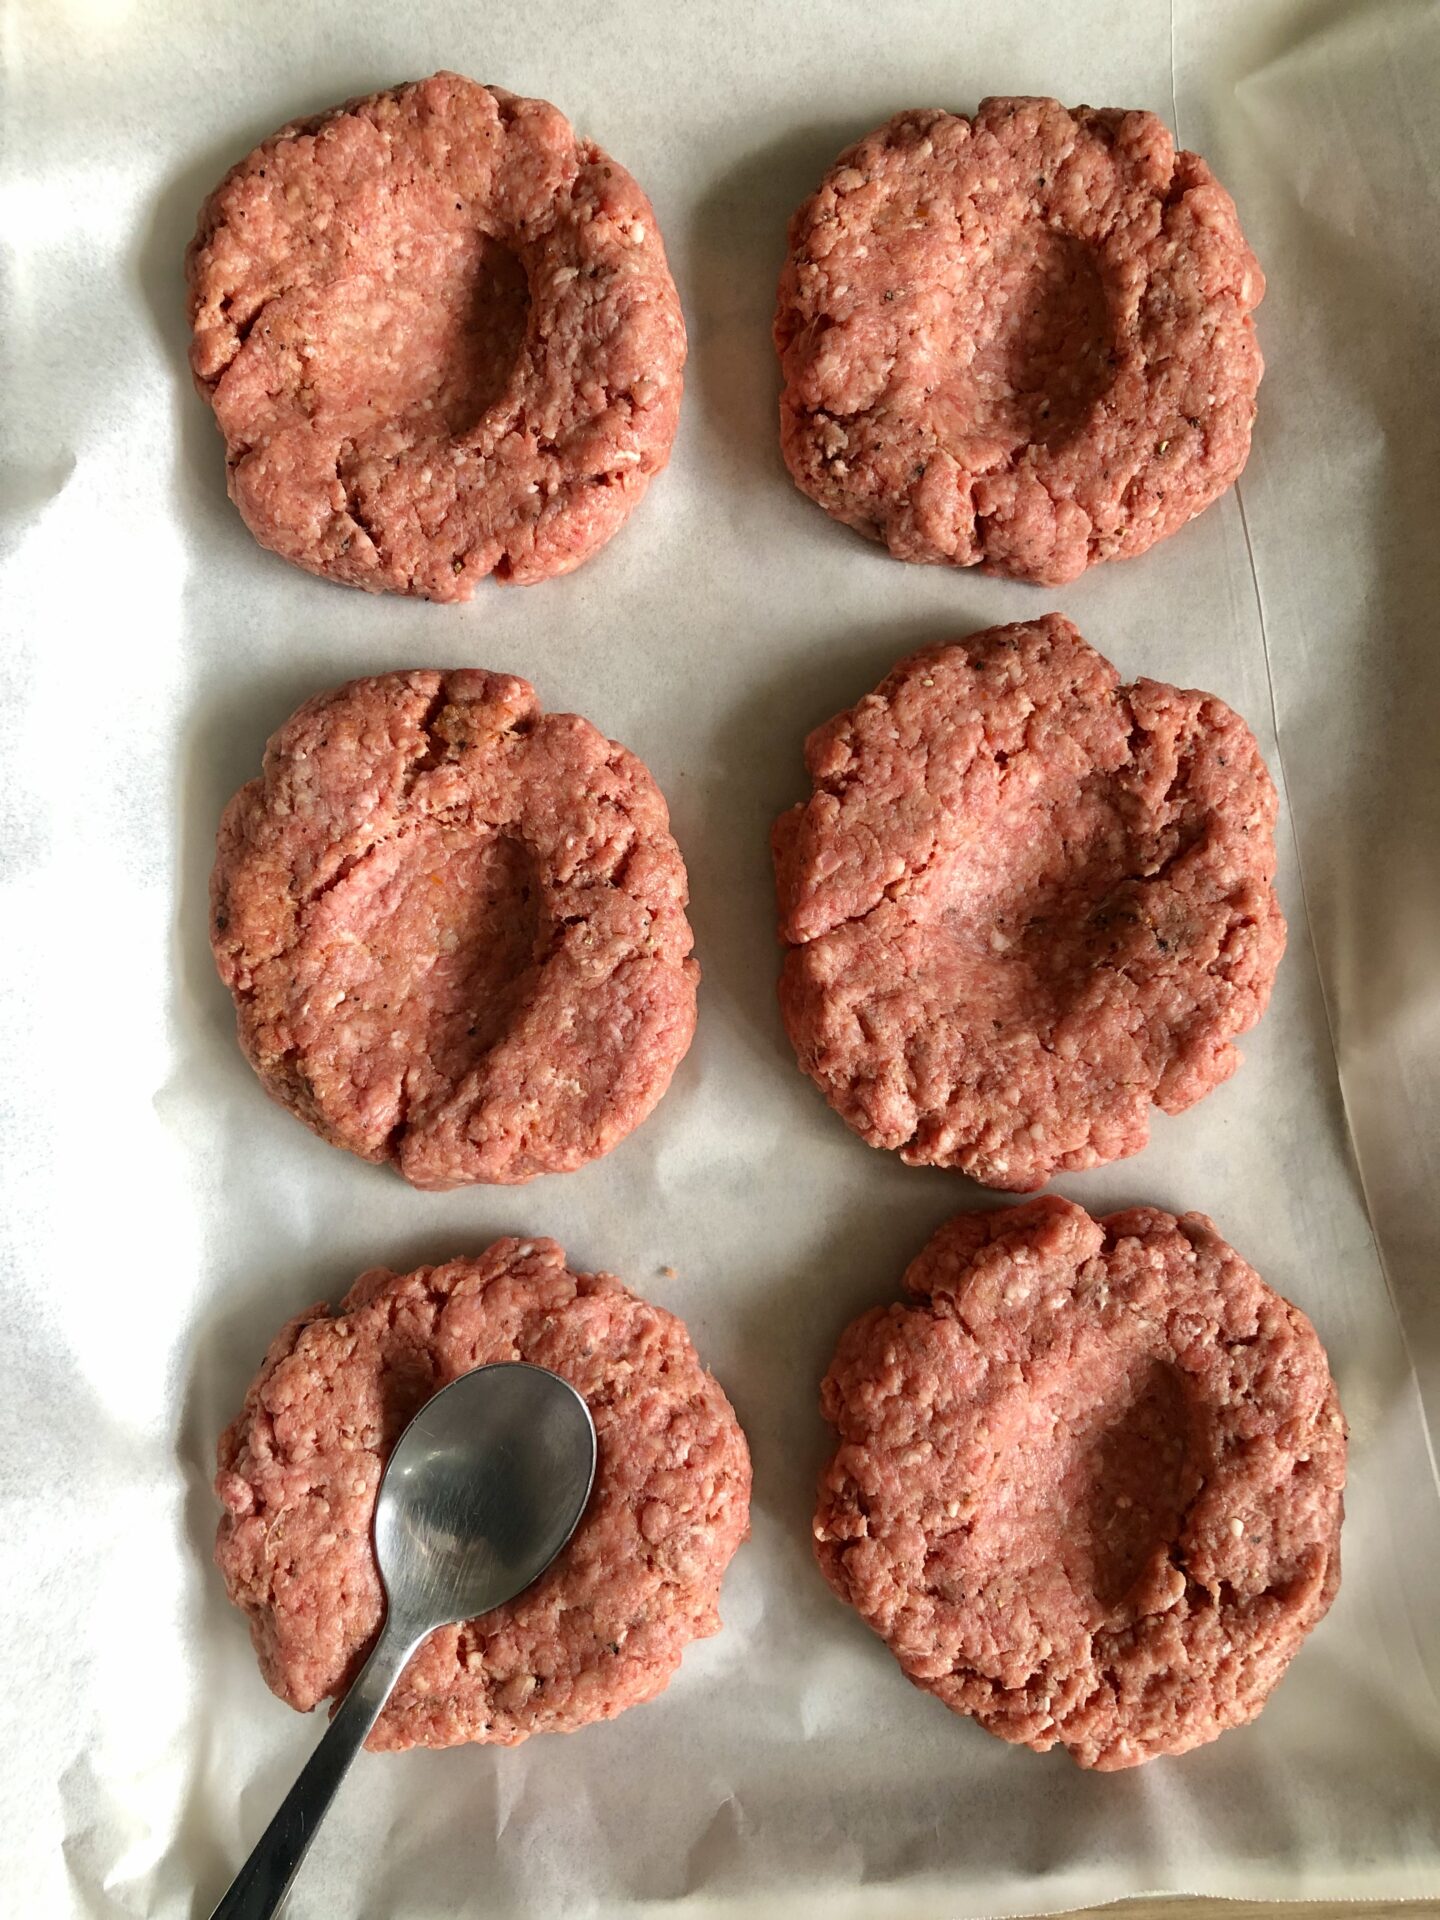
Add all ingredients to a large bowl and mix with your hands until just combined. Divide the meat mixture into 6 equal portions and gently form each portion into a patty that is about 5″ wide and 1/2″ thick. Lay the patties on a large tray. Using the back of a spoon, press an indentation into the centre of each patty.

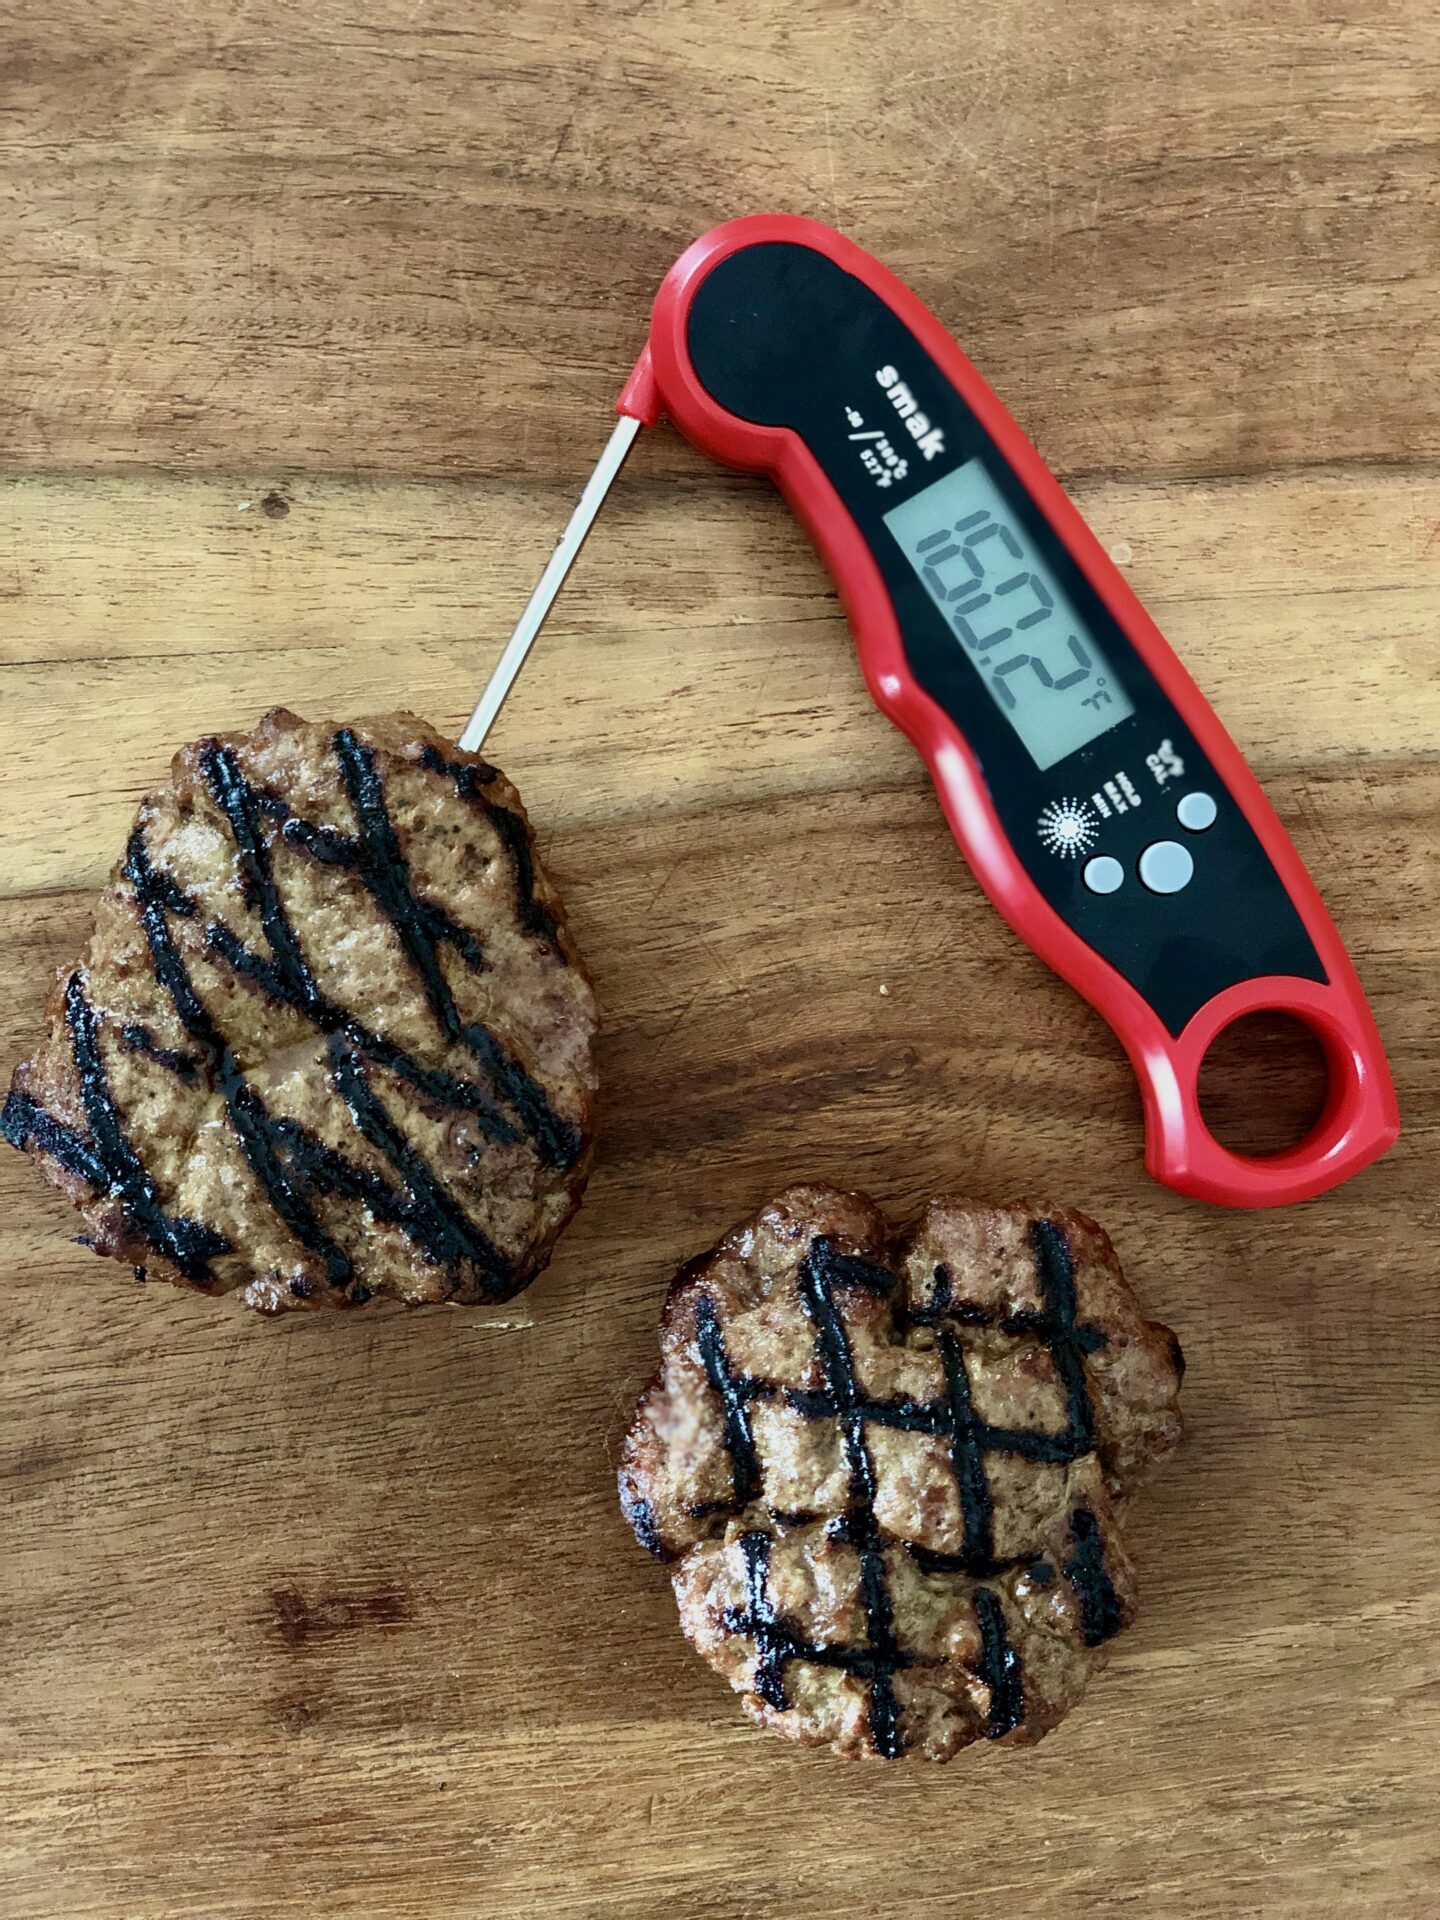
Cover the patties and transfer to the fridge to chill for 20 minutes. Preheat the barbecue to medium-hot. Remove burger patties from the fridge and brush both sides of each patty with canola oil. Place the patties on the hot grill, indent-side up. Close the barbecue lid and cook for 2-3 minutes until the bottom is seared and burgers release from the grill easily when lifted with a spatula. Flip the burgers over, then close the barbecue lid again and cook another 2-3 minutes on the other side. Flip again, this time rotating the patty a quarter turn to make a cross hatch pattern with the grill marks. Replace the barbecue lid and cook for 2 minutes. Flip one last time, rotating a quarter turn to make cross hatch marks on the other side. If making cheeseburgers, add your cheese at this point just to melt it. Using an instant-read thermometer check the temperature at the centre of the patty. Once 160F degrees has been reached, remove the patties from the grill and allow to rest for 5 minutes.

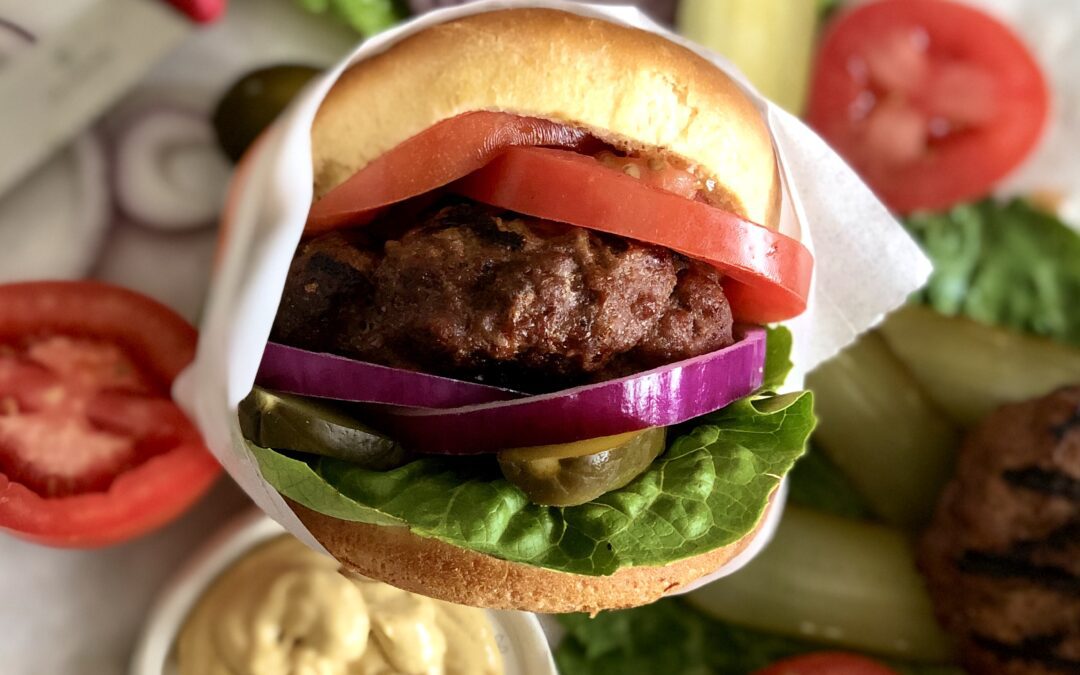
Reduce the heat on the barbecue to medium low. Slice open each burger bun and lay them cut side down on the grill for 15 seconds (It will happen fast on the hot grill so pay close attention!). Remove buns from the grill and place a burger patty onto each one. Serve with your choice of toppings.
 SERVING SUGGESTIONS
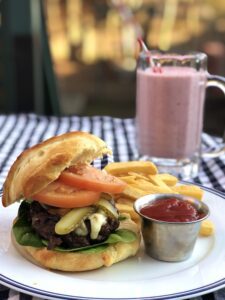
French Fries are the ultimate pairing for a burger, but cut veggies with dip, corn on the cob and watermelon slices are all good choices for a laid back outdoor meal. All of these things can be eaten with your hands, so there’s no need to balance a plate in your lap while awkwardly cutting with a knife and fork, if you’re eating in lawn chairs. If you’ll be sitting at a table, grilled vegetables or a crisp summer salad are great choices!
 DRINK PAIRINGS
A big beefy burger calls for a glass of a big, bold red wine! Try a California Cabernet Sauvignon, a Malbec, a Grenache or a Shiraz. If beer is calling your name, reach for an IPA or an Amber Ale. For non-alcoholic options, choose something fun and nostalgic, such as milkshakes or craft root beer.

RECIPE NOTES
- DOES THE FAT CONTENT OF THE MEAT REALLY MATTER? Absolutely. I’m all for choosing healthier options when it won’t be at the expense of flavour or texture, but that’s not the case here. The 20-25% fat content of medium ground beef lends juiciness and flavour. Using lean ground beef will result in a dry, bland burger that is more likely to stick to the grill.
- DOUBLE IT UP: This recipe makes 6 burgers, but the recipe can easily be doubled for a crowd
- WHICH SAUCE? You can use your favourite store-bought sweet and tangy barbecue sauce. I use this one, which is delicious (and also happens to be gluten-free, see below for more on that!).
- MAKE THEM GLUTEN-FREE: Without the addition of fillers such as bread or cracker crumbs, this recipe is easy to make gluten-free. Just be sure to use gluten-free barbecue sauce and gluten-free steak spice. Naturally, you’ll also need gluten-free burger buns, or you could wrap the patties in large, crisp lettuce leaves.
- HANDS ON: Your hands are the best tool for mixing, the ingredients. Handle the beef as little as possible and use a light touch when forming the patties. If you over-work the meat or compact the burgers too much, they’ll be dense and tough.
- SIZE AND SHAPE: Whether or not the patties are exactly 5″ wide and 1/2″ thick isn’t important, so there’s no need to get out a ruler, its just an approximation. What’s important is that they all be consistent in size from one burger patty to the next, so they cook evenly. They will shrink during cooking, so starting with a patty that is larger than the bun will mean that the cooked patty will cover most of the bun’s surface once it’s cooked. The average burger bun is 3.5″ to 4″ wide, so starting with a 5″ patty allows for shrinkage.
- PUT A DENT IN IT: Why make the indentation with the spoon? During cooking, the patties have the natural tendency to shrink (as noted above) and puff up, and before you know it, your nicely formed raw patties have morphed into meatballs. The indentation prevents the centre from puffing up too much.
- CHILL: Chilling the burger patties for 20 minutes before you grill them will help them hold together on the grill. Use this time to pre-heat your grill!
- OIL THE MEAT, NOT THE GRILL: I know this is a bit controversial, and every other grilling recipe will tell you to oil the grill, but hear me out on this one. I really encourage you to brush the burger patties themselves with the oil, instead of greasing the grill. Even if you use an oil with a high smoke point, if you add it to the grill while it’s pre-heating, most of it will have burned off before your meat ever touches the grill, so it’s not going to do much to prevent sticking. Oils with high smoke points, such as canola oil, still smoke and burn when temperatures rise above 450F degrees, so there won’t be much left (except a burnt oil taste) once the temperature on your grill rises. Brushing the oil onto the patties themselves means that the oil is present when the meat hits the grill, and is a much better bet for preventing stuck-on meat.
- OTHER TIPS FOR KEEPING THE BURGERS FROM STICKING TO THE GRILL? Always start with a clean grill. Charred residue from past meals won’t enhance your burgers, and will lead to sticking. Thoroughly preheat your grill. It may be tempting when we’re in a hurry to start cooking on a grill that isn’t fully heated yet, but that’s a mistake. Searing helps food release from the grills, so hold out until the grill is HOT! If you’ve used meat with a medium fat content, you’ve oiled your patties and your grill is clean and hot – but the patties are still sticking – what’s going on? It may be that you’re trying to flip them too soon. If you meet resistance when you try to slide your spatula under the patties, it may be that they just need another moment or too. Once they have a good sear, they should lift off without too much pressure from the spatula.
- DON’T SQUISH THEM!: Resist the urge to press down on the patties while they cook – all that does is squeeze out the good juices, leading to dry burgers.
- HOW WILL I KNOW THEY’RE DONE? We worry about the health hazards of under cooked ground beef, but an over cooked burger can be downright disappointing. So, how to know when they’re just right? Avoid the guessing game by using an instant read thermometer, and remove them from the grill when they reach the safe internal temperature of 160F degrees. There are lots of good ones out there, but I use (and love!) this instant read thermometer (pictured above in the photo from my kitchen) with its light-up display for nighttime grilling, and it’s folding design for easy storage.
- GIVE IT A REST: Like most meats, burgers benefit from a resting period before serving. This allows the juices which may have boiled to the surface during cooking, to settle and redistribute themselves throughout the burger. A 5 minute rest, lightly covered, is all they need to be delicious and juicy, but still hot.
- FREEZE IT: You can make these ahead and freeze them raw, so they’re ready for a quick dinner. To freeze them, place pieces of parchment paper between the patties and place them in an airtight, freezer safe container. Properly wrapped, the patties will last in the freezer for up to 2 months. Thaw overnight in the refrigerator if time allows. If not, they can be cooked from frozen, but will take much longer on the grill. Once you get an initial seer, turn down the heat and close the lid to cook them through, flipping every 5 minutes or so, until an internal temperature of 160 degrees is reached.


